Finished Binding

Finishing a quilt is one of the most satisfying feelings in the world. That last stitch and trim is sublime, and when your quilt is done, you can show it off and marvel at it as much as you want.
That last stitch is usually in the binding, which is a necessary step in any quilt creation. Joining your quilt binding ends is the last, most crucial step of them all.
Joining the quilt binding ends is easy, and once you learn how to do it, it’s a skill you’ll take on to every single one of your projects.
There are multiple ways to go about your binding, including the pocket method, which I find to be the easiest. You can learn that full method by clicking here.
Joining Method

If you want to learn classic binding joining, look no further. This simple technique makes the whole process fast and easy.
First, when you machine stitch the binding on to the quilt, be sure to leave about a foot or so of room to manipulate the binding and finish it off properly.
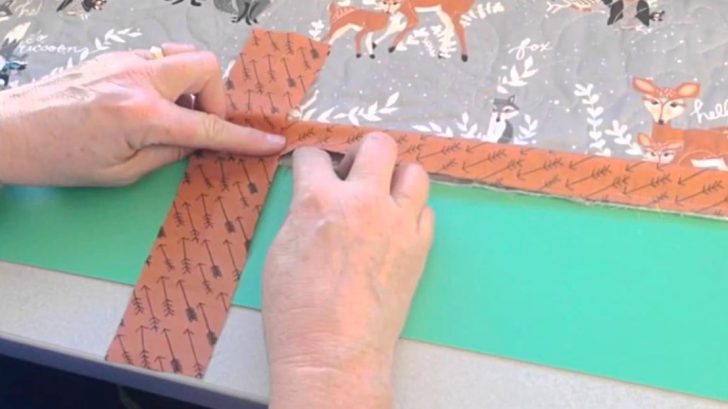
Now, you’ll trim one side of the binding about halfway, as shown in the video by YouTuber Camille Ainsworth below. It’s stitched in the back so it can be flipped to the front.
Take the other strip and overlap it to the width of your fabric. You can use the trimmed piece from the other side to measure this. Trim off the excess of the other binding as well.
No overlap them and sew them at an angle like you would with some strips. You can draw a line if you’d like, but i’s a straight lined angle so it’s pretty simple without the guide too.
Trim off excess thread and excess fabric, leaving about 1/4″, and iron if necessary. Now, flip the bind around the quilt and do a top stitch. Easy!
Watch the video below for more tips and tricks. Happy quilting!