Binding is a necessary step in finishing any quilt. In my opinion, getting it done as quickly and easily as possible is also a necessary step.
That’s why when I found this 6-step binding tutorial by HeirloomCreations, I clicked on it instantly because I wanted to learn how. This method is so simple!
Step #1: Cutting
Cut strips using a rotary cutter, mat, and quilting ruler. They should be 2 1/4″ to 2 1/2″ long.
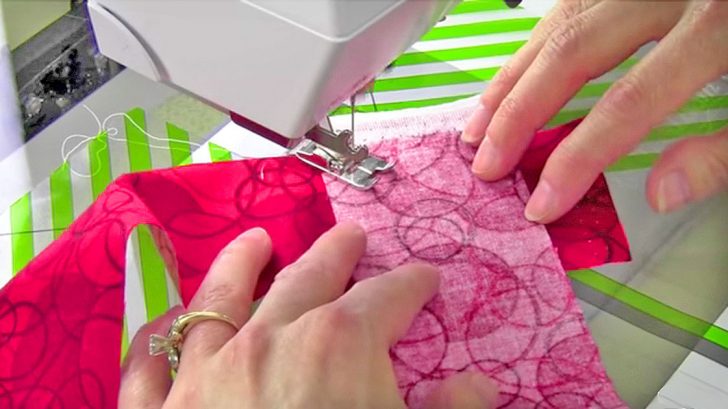
Step #2: Sew Strips Together
Lay two strips together perpendicularly, having the the right sides facing each other. Sew two strips together at a time, at a 45 degree angle.
Step #3: Pressing
Trim excess fabric from the corners, about 1/4″ away. Then, find the end and begin pressing the wrong ends of the strip together.
Press open.
Step #4: Attaching The Binding To The Quilt
Take the binding’s raw edges and match it to the edges of your quilt. Fold down a diagonal corner.
What you’ve made is a little pocket that will make all of the remaining steps much easier. Sew it all together, following her tips for getting the corners correctly.
Step #5: Pressing
Fold the binding over, then press it in place before you do the final stitching.
Step #6: Stitch or Hand Sew In Place
Use your machine or hand sew your binding in place so it encases the entire quilt. That’s it, you’re done!
Follow HeirloomCreations‘ tutorial below, and you’ll have the easiest binding ever in no time at all!