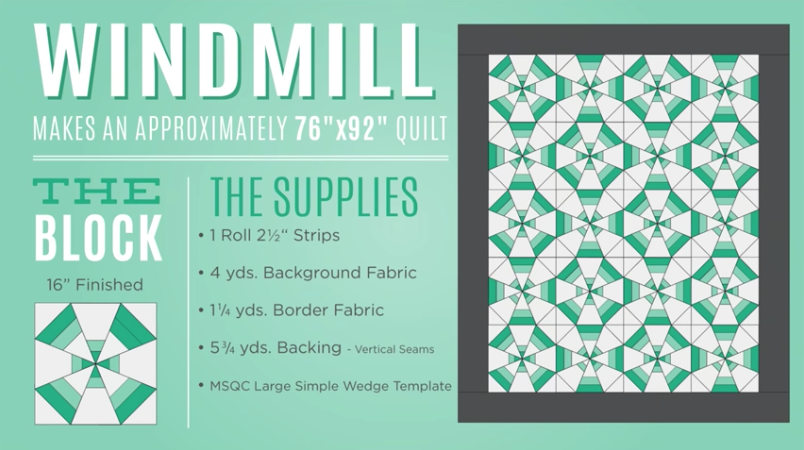
Windmill Quilt
The windmill quilt: such a gorgeous and unique design that everyone should have in their quilt collection. If you haven’t added this to your collection yet, you’re in luck, because it’s super easy to make!
Jenny Doan from Missouri Star Quilt Company proves this once again with a simple to follow video tutorial that makes these blocks done in a flash.
If you want to get started on making your own windmill quilt, besides your sewing machine, you’ll want to start with the following things:
Nothing More Than Some Strips
Believe it or not, stitching this up is nothing more than sewing together some strips of fabric and cutting them into triangles!

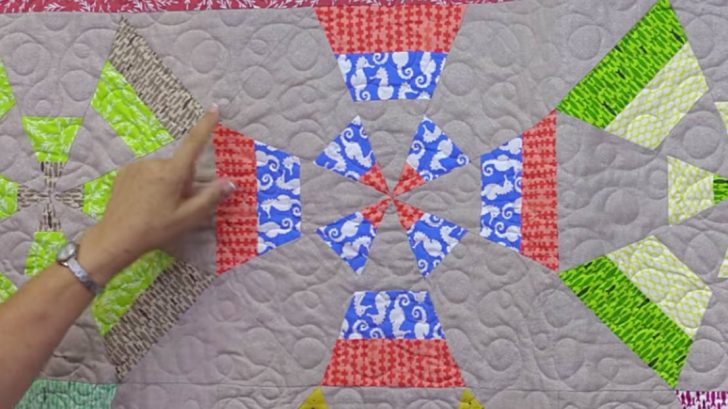
Each block is made up of those triangles, other that the little corner pieces, which, evidently, are other triangles. If you want to make those windmill blades, here’s how to get started.
You’ll sew together three strips: two of an equal size, and one much larger than will be the main point of the triangle.
Cut the triangles after sewing up the strips. You’ll have 2 different sets of triangles, each set being 4 triangles and each set differing in how big the main strip is.
Place all of the triangles together in an octagon, sew them up together, and add those corner triangles. Then that’s it, you’re done!
Watch Jenny’s tutorial below for more details. Happy quilting!