There are endless possibilities when you make a quilt. What will the pattern look like? What colors? Will there be any trim or contrasts in fabric textures? There’s truly a lot to think about when making one.
Even with all of these differences, I feel like the finished product ends up looking pretty similar. A flat quilt with alternating fabrics, a border, and sometimes some embroidery stitching: that was it.
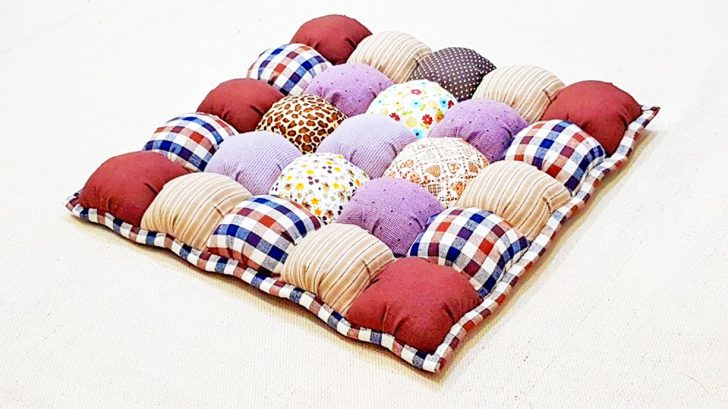
A puff quilt changes that formula and gives the finished product a completely different look.
Puff quilts are perfect gifts for a baby shower, make great bedspreads for young kids, or are just a fun way to shake up the regular routine of quilting.
Here’s what you’ll need to make one:
- 8 coordinating fat quarters
- ⅔ yard border material of your choice (she uses minky)
- ⅓ yard fabric for behind puffs (this will NOT show on the finished quilt)
- 1 yard back fabric
- ½ lb fiber fill
- Material or Bias tape for Binding
- Optional: Spray Adhesive, Embroidery stabilizers and supplies
Minute Moments‘ 34” x 40” Puff Quilt not only packs a punch, but you don’t even need to do any pinning before you sew!
Cut your fat quarters into 72 5″ squares. Cut the same amount of fabric for behind the puffs as well.

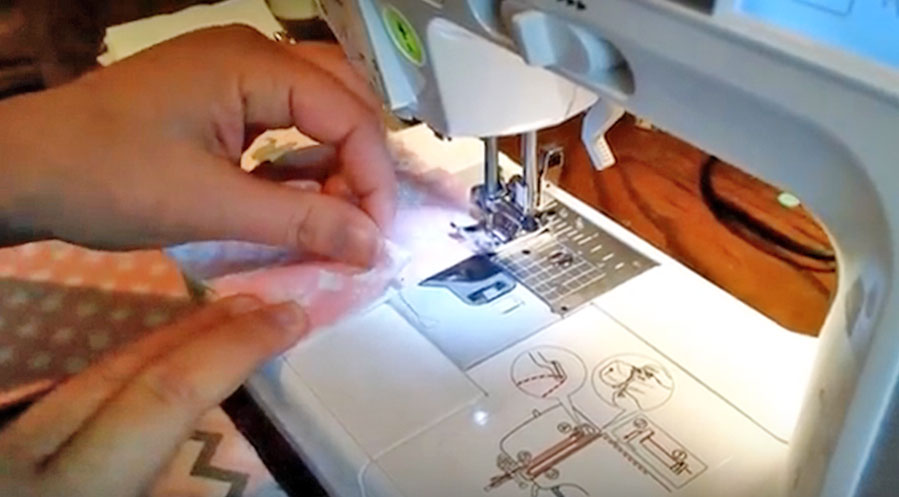
All you need to do to make each puff is pinch and fold the edge so they line up, then sew that edge. Repeat for 3 sides, then stuff with polyfill!
You’ll need to do this for each of the 72 squares, then you’ll sew each square together.
When those are sewn together, you’ll do your binding as usual, add any designs, and boom, you’re done!

