Butterflies are one of the most beautiful things on the planet, so naturally, people borrow that beauty for dozens of ideas. One of my favorite butterfly-print things is this nail art.
Doing my nails, especially with a design, has always been kind of hard for me. This butterfly nail art is just as easy as it is pretty, so now I don’t have to pay to go to the nail salon!
Ane Li shows off how to do this in an easy step-by-step tutorial. I followed it and it turned out great!
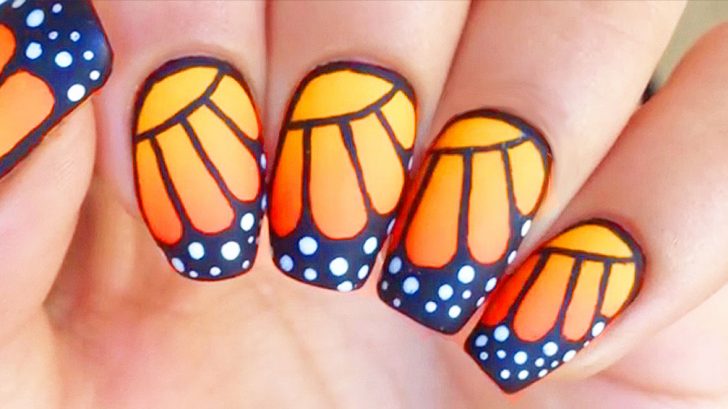
Here’s how you can get perfect monarch butterfly nails.
Supplies you will need:
- Clean Makeup Sponge
- Clear Nail Polish
- Yellow Nail Polish
- Orange Nail Polish
- Black Nail Polish
- White Nail Polish
- Thin Paintbrush
- Q-tips
Instructions:
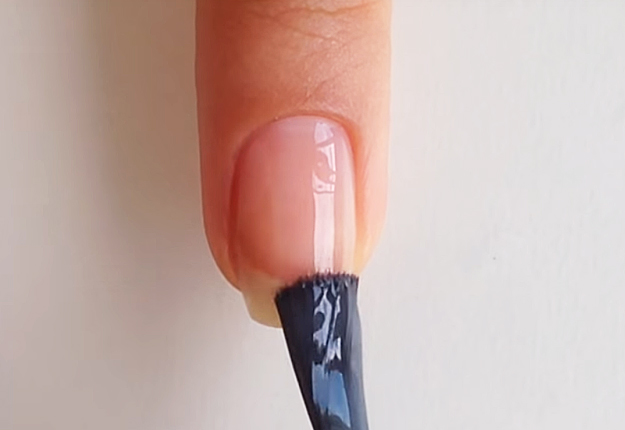
1. Start with a base coat to protect your natural nail.
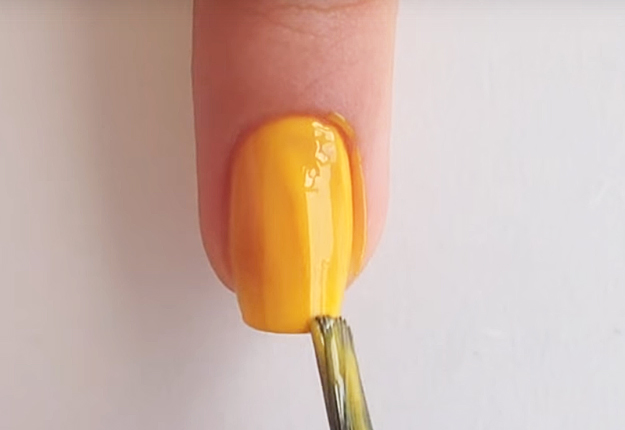
2. Paint your nails with 2 coats of yellow nail polish and let dry completely.
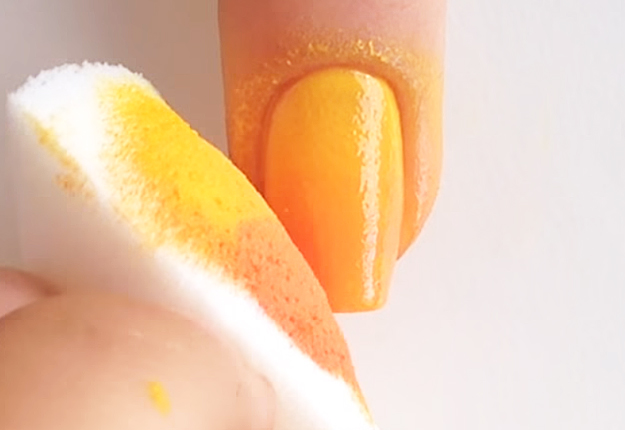
3. Now take a make-up sponge and paint a stripe of yellow and orange.
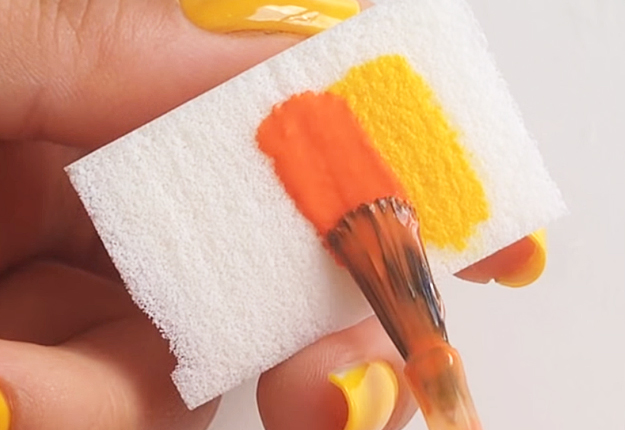
4. Roll the sponge over your nail and then dab it up & down to blend the colors. Let it dry for about a minute before you re-apply the polish to the sponge and this time roll it diagonally over your nail.
Let it dry for about 2 minutes.
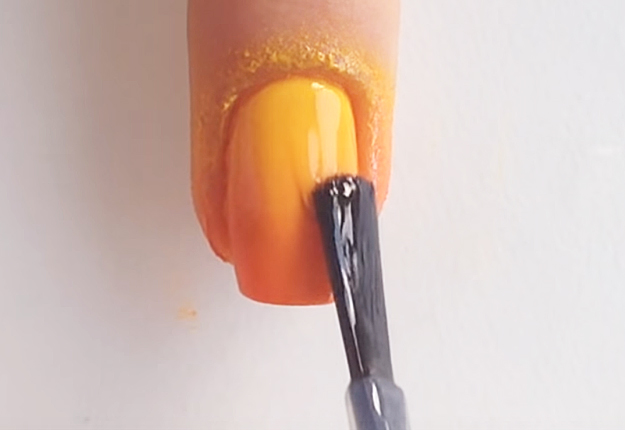
5. Apply a fast drying top coat to straighten it out and blend the colors even more. This will also make it easier to paint the design.
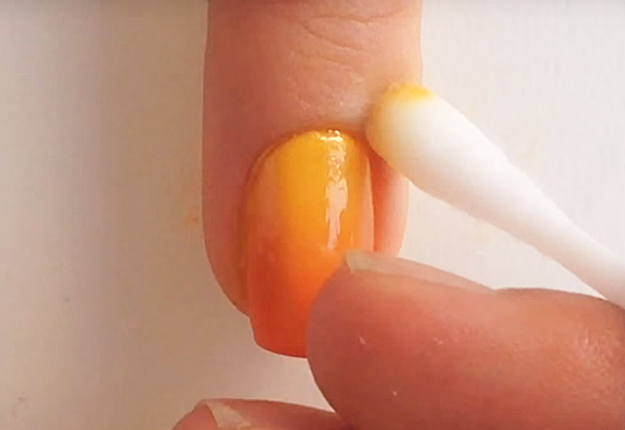
6. Clean up around your nail with a q-tip and polish remover.
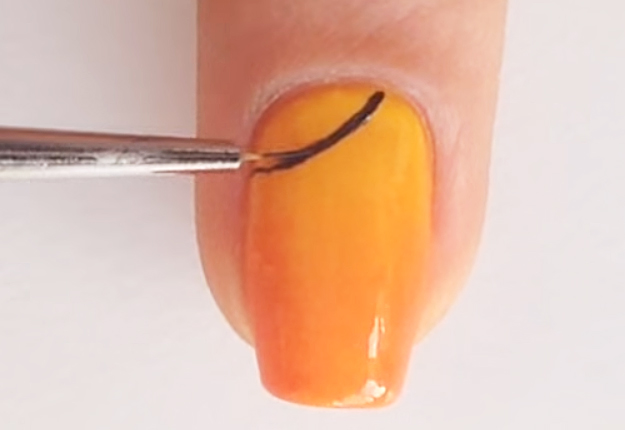
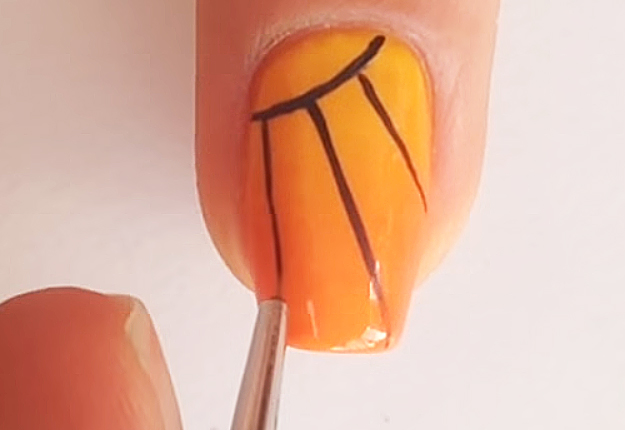
7. Paint a curved line diagonally from your cuticle.
8. From the curve, draw three lines down the nail. You can go back and fix the lines if necessary.
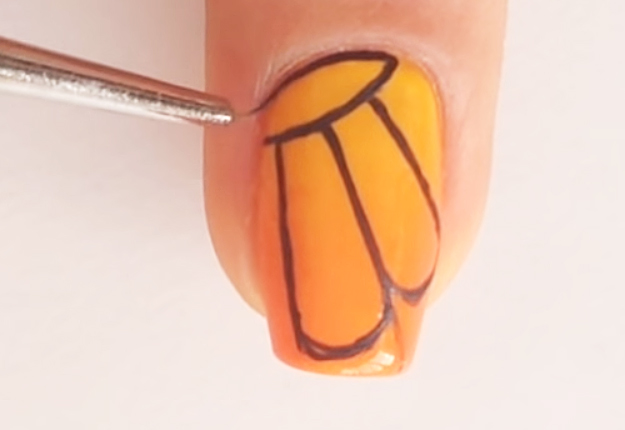
9. Curve the end of the lines.

10. Outline the top part and the sides of the nail.
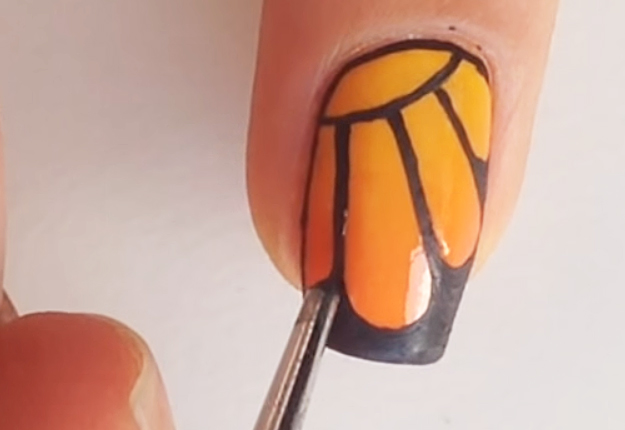
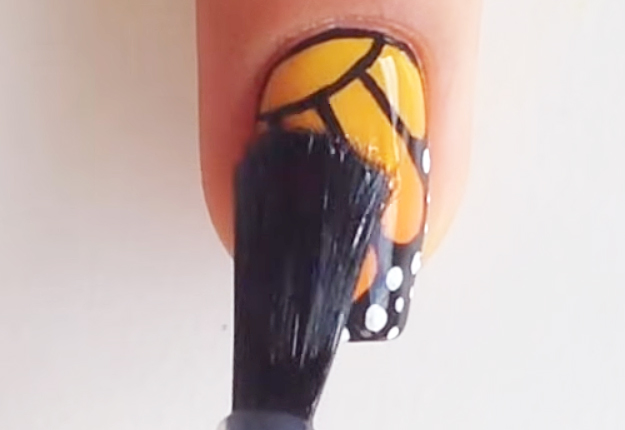
11. Start filling in the spaces at the top part of your nail using your black nail polish. Make sure to cover it completely.

12. Go back and make the lines a bit thicker and even.
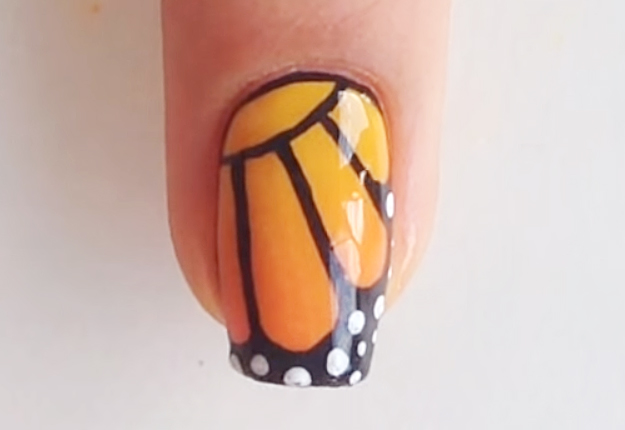
13. Take a toothpick and make different sizes of white dots similar to the picture below.
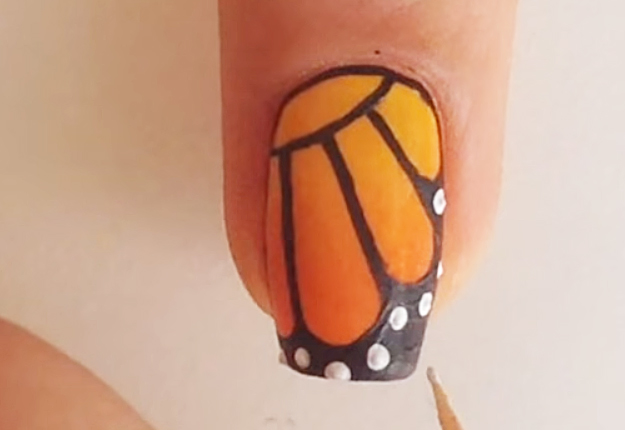
14. Allow the paint the to dry for a couple of minutes and apply fast drying top coat.
Your Monarch Butterfly Nail Art is done!
I ended up doing this a few times, and I made mine blue and green. It turned out just as gorgeous. What are you going to do to customize yours?