Baseball caps (or dad hats, as they’re often called,) are back in style and bigger than ever. Because of this, they’re also super expensive lately. I’ve seen some that cost over $40!
If you’re like me and would rather cut off your pinky toe than spend that much on a hat (okay, maybe I’m exaggerating, but still,) here’s the tutorial for you.
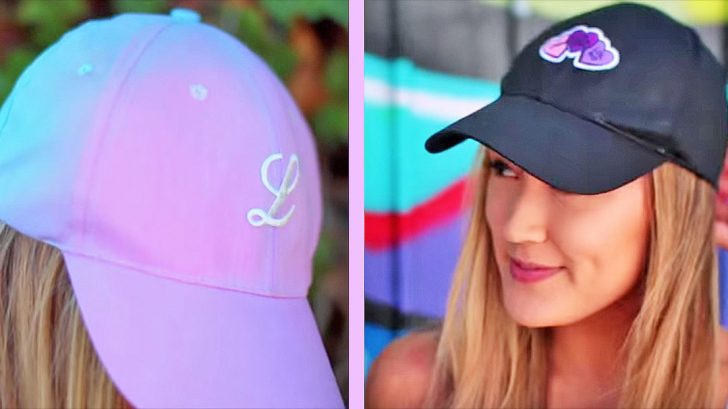
Lauren from LaurDIY has 3 methods for making cheap hats: the iron on patch method, the ombre method, and the tie-dye method. You can combine them for even more options!
Michael’s has plain baseball caps for under $3. You can usually get patches or dyes for super cheap as well, so in total I spent around $5 each when I decided to give this a try.
For the iron-on patch method, you do just that– iron on a patch. Then you’re done! The second method, the ombre method, is probably the hardest but is still super easy.
All you have to do is follow your dye’s instructions and set out two colors. Dip the hat in both dyes, starting with one, then the other, making sure to overlap as you dip. Go back and forth until you get the desired effect.
For the tie dye hat, it’s even easier. Follow the instructions of a few more colors, put them in buckets, and use a sponge to dab on the colors from dullest to brightest until you get the the effect you want.
The hat of your dreams can be done in no time at all– and for super cheap! Thanks, Lauren!
Watch her tutorial below if you need a visual (or something to cover up a bad hair day,) and see what you come up with!