Time to put the sweaters away! With summer quickly approaching, break out the shorts and dresses.
If you have a baby, you know how quickly they grow and change. Chances are you don’t have as many summer clothes as you’d like for your little one.
A free pattern drew me to this DIY baby dress, and now I know I have the perfect summer outfit for the little girl in my life!

Cut your pieces for the bodice, then put the fronts and the front lining right sides together. Afterwards, stitch them together as shown above.
Clip the curves as shown above, then clip the corners by clipping diagonally across the corner as close to the stitching as possible without cutting through it.
Turn the bodice right side out and press. Repeat these steps with the back bodice.

Stitch buttonholes on the front of the bodice. Place the front and back bodice pieces lining side together.
Fold the outer fabrics up, matching the underarm seams. Stitch the side seams in one line on each side.
Fold the skirt fabric in half matching the short seams with the right sides together. Stitch so the skirt is a loop. Finish the seam.

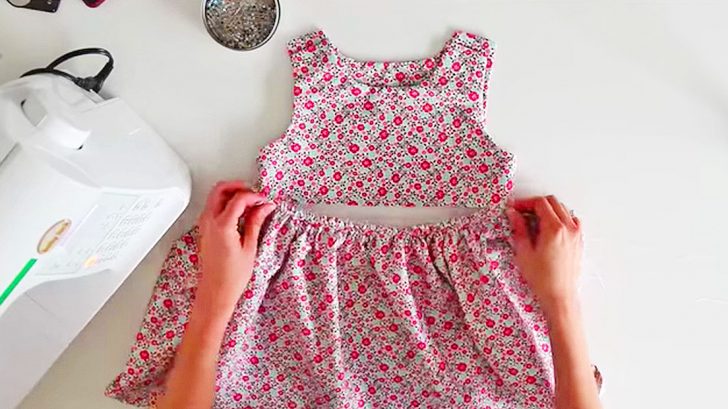
Sew two lines of basting stitches around the top of the skirt to gather it. Leave long tails on these lines.
Pull the bobbin threads on top of the skirt until it matches the width of the bodice.
Turn the skirt right side out, then turn the bodice lining right side out. Put the skirt inside the bodice, pin, then stitch. More details can be found in the video below, or Melly’s blog post.
Finish stitching, add your buttons, and you’re done!
Watch Melly Sews video below and stitch your own dress. I can’t wait to see my little girl in this dress someday soon!

