Seamless Feather Border
When it comes to finishing up a quilt, decorative stitches are everything, especially around the border. If your quilt blocks aren’t particularly intricate, these stitches can bring life to your quilt.
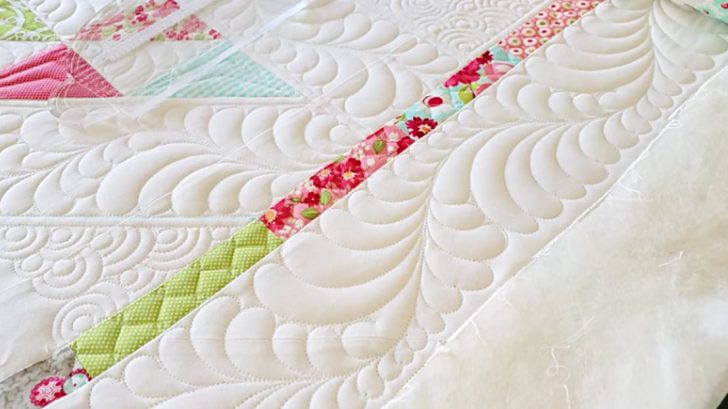
The seamless feather is particularly gorgeous as a border stitch, and luckily, it’s incredibly easy to do.
YouTuber Natalia Bonner explains how to stitch up this adorable design in her YouTube tutorial. She uses a long arm to do this perfectly, but you can use a regular machine just as easily.

The Secret For Perfect Feathers
The feather stitch looks really difficult, especially considering how intricate it looks both from afar and up close. Believe it or not, though, with just a few simple steps, it becomes the easiest stitch ever.
First, you’ll want to start by stitching a single, wiggly line down the center of where you’d like the feather design. Once that’s stitched, it’s time to actually create the feather.

All you’re gonna do is stitch one side at a time. Create finger-like curved shapes by stitching a “C,” moving the stitch inward to meet at a point at the wavy line in the center.
Bigger stitches will be toward the inner curve, and the bigger stitches will be toward the outer curve. You’ll do this on both sides until it forms a feather-like pattern!
Watch Natalia’s video below and you too can make a gorgeous feather-like stitch easily!