
Kimonos are an easy way to finish off an outfit. Not only do they protect your shoulders from the sun, but they look gorgeous with a plain dress, or a t-shirt and jeans.
Everyone who likes the look of a kimono needs one in their wardrobe. That’s where this easy DIY comes in. The Polkadotter on YouTube lets you sew one up in 4 easy steps!
Here’s what you’ll need to make your own kimono:
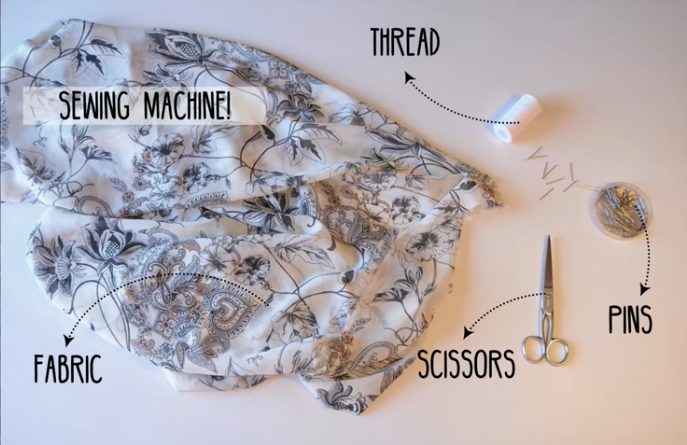
Your fabric should measure 1.5 (height) x 1.2 (width). Choose a coordinating thread that will look good with your fabric.
Now that you’ve grabbed your supplies, on to the 4 easy steps you need to follow in order to make this gorgeous little kimono. This comes from The Polkadotter on YouTube.
Step 1: Fold The Fabric In Half Twice
Begin by taking your fabric and folding it width wise. Then, fold it again, this time folding from the length. A rectangle should form out of this, and it’s ready to be cut.
Step 2: Cut The Sleeves & Sew

Cut a small rectangle out like The Polkadotter shows. Now, unfold your kimono once, leaving the original fold. Then, sew your sleeves in the allotted places.
Step 3: Cut The Frontal Opening
Now’d the time to cut the frontal opening of the kimono. There should be a crease from your second fold that you can use as a guideline. Easy!
Step 4: Hem

Finally, hem all of these openings in place in order to get your kimono steady and ready to wear. Then that’s it, you’re done!
For a more in-depth tutorial on how this is done, watch The Polkadotter‘s video down below. Good luck and happy sewing!