As a denim jacket fanatic, I couldn’t have been any more excited to find this DIY. Making your own jacket patches is actually super simple, and you’ll love how they turn out.
This tutorial comes from the oh-so-talented Shmoxd on YouTube, and even someone who’s never embroidered anything in their life could make these.
First, you’ll want to brush up on your embroidery skills. You can click here to learn the absolute basics. No matter what you embroider, these tips are insanely helpful!
Now grab your embroidery backing, your embroidery cloth, and your image along with an embroidery hoop and your embroidery floss.
Next, put your image under the backing and trace it to make the reverse image. When you flip the backing over to the other side, place your cloth on top and situate it in the embroidery hoop.
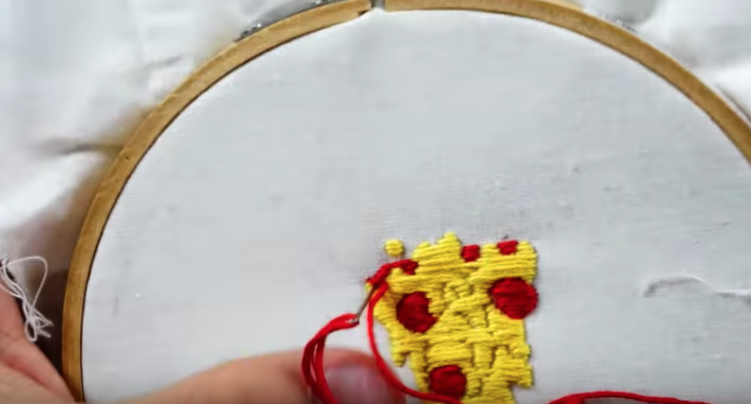
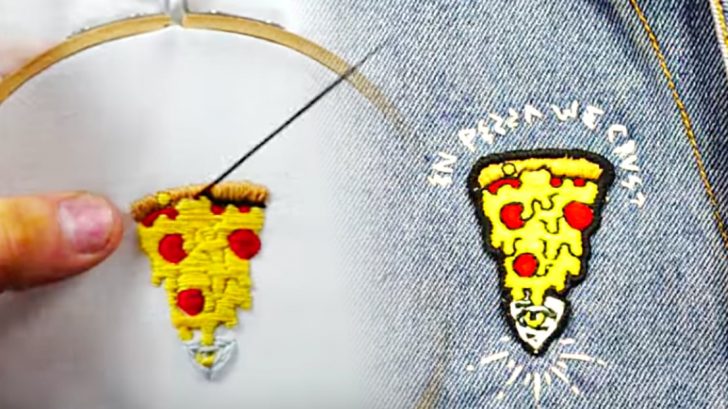
Use the light of your phone to see the tracing of your image if you need it, then embroider your image until you create the full picture.
Once it’s all stitched and tied in place, cut out your patch, then add some heat bond to make it an iron-on, followed by some fabric glue around the edges to help prevent fraying.
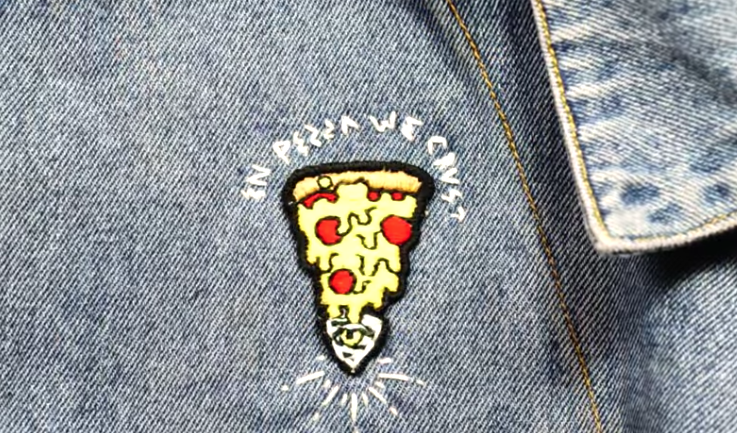
Trim your patch to make it exactly the size you want and make sure everything is glued down if needed. Once that glue dries, you can iron the patch on to whatever surface you’d like!
These patches are insanely adorable and you can make them into whatever you want. They’re absolutely perfect for expressing yourself. Can’t find the perfect patch? No problem, make your own!
What will you make?