Easy Turnabout Granny Squares

In quilting, you more than likely have come across a granny square. Whether you’ve seen them done before or you’ve tried them yourself, we can all agree that these blocks are stunning.
They also look incredibly difficult to make, but luckily, Jenny Doan is back at it again with another tutorial. Not only does she show you how to make this classic block, but she does it in the easiest way!
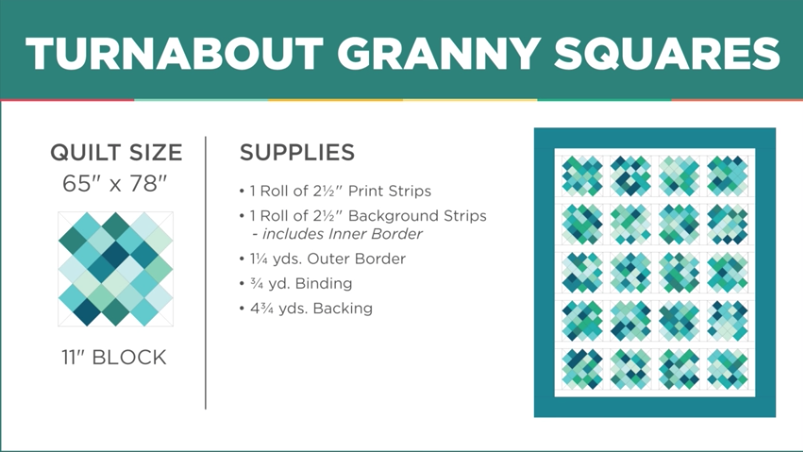
If you wanna do this yourself, you’ll need to start by grabbing your supplies. Here’s what you’ll need.
How It’s Done
You can make this process even easier for you by grabbing a free printable here. This outlines the necessary supplies, so you can take this with you when you shop for your fabrics!
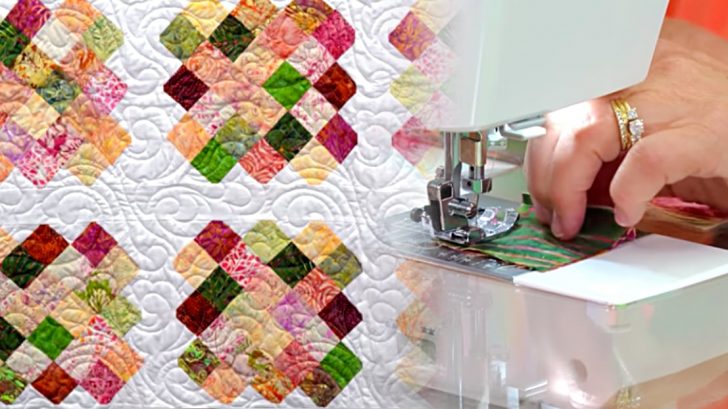
Once you’ve grabbed your supplies, you can begin stitching up your 11 inch blocks. To start, sew up 4 of your 2 1/2″ strips. Repeat this with 4 more strips, and so on, as Jenny shows in her video.
When those strips are all sewn up, use a ruler to cut those into little squares just like Jenny says. Sew together some of these strips to create a square with a line of white squares in the center.
Use your ruler to cut this square in half along the diagonal of white squares. Then, you’ll turn those triangles white sides outward and sew the four together… there’s your block!
It may be unbelievable, but once you sew those blocks together, you’re done with your quilt top. Just add any borders you may like, add your batting and backing fabric with any free motion, and you’re done!
Watch Jenny stitch up this beauty in her video below. As soon as you see her do it, you’ll definitely want to try it yourself!
Happy Quilting!
