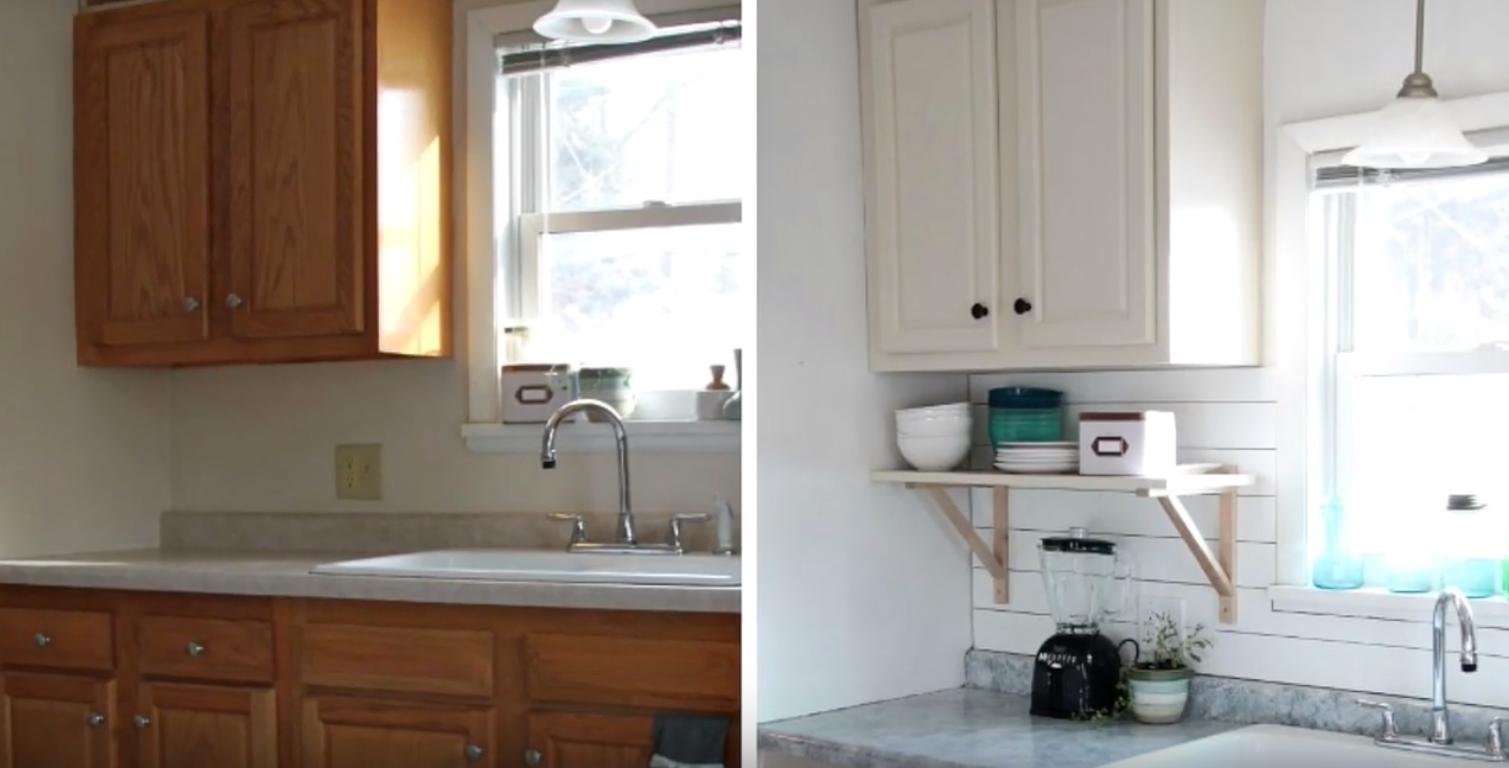
The kitchen is my favorite room in my house. I spend a ton of time in there. Whether I’m cooking or snacking from my fridge at 4 AM, it’s a go-to room for me.
That’s why I’m so passionate about helping people get their dream kitchens through DIY. It’s super simple to do with the right tools.
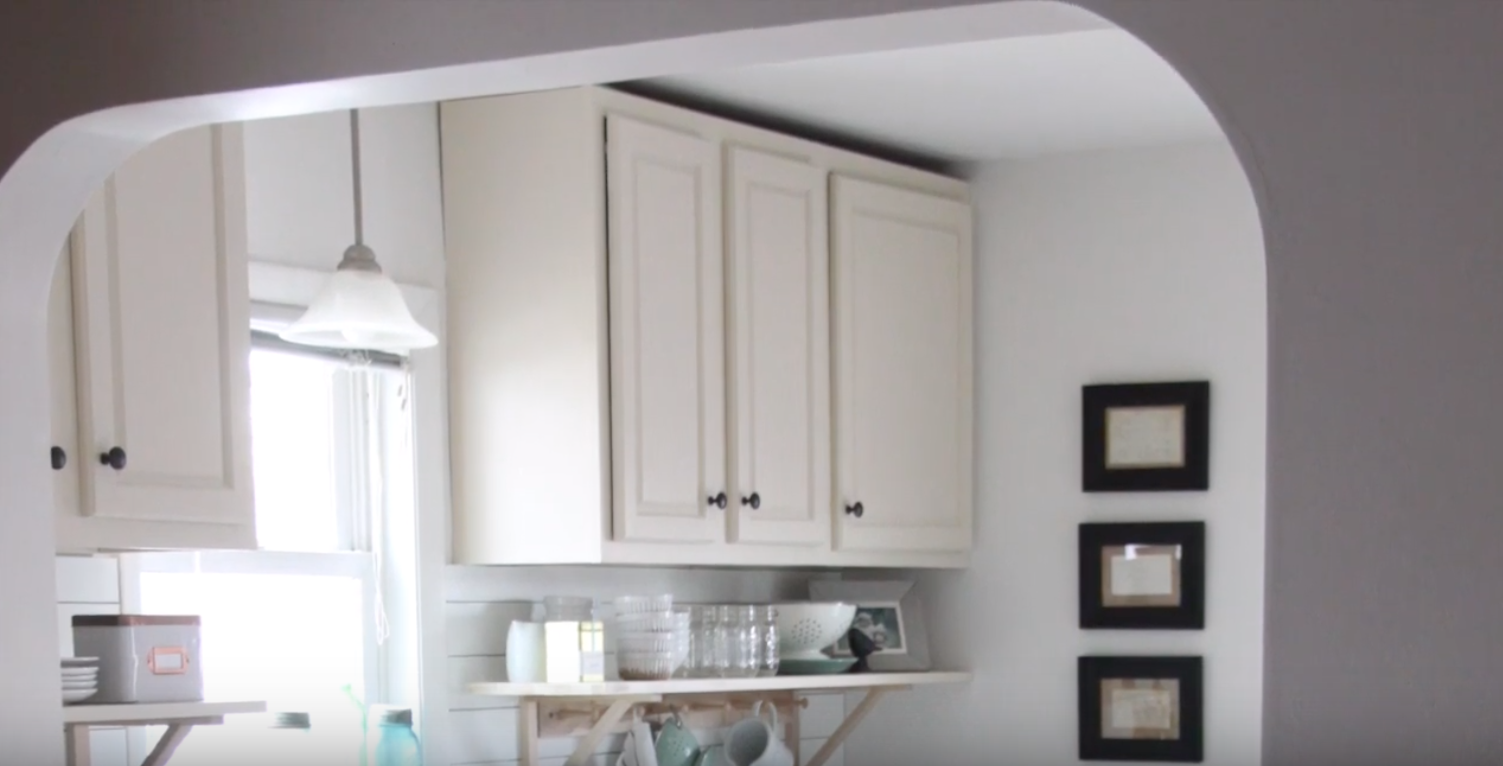
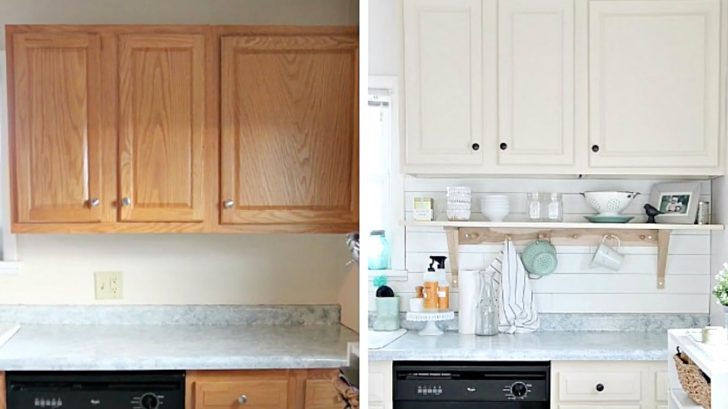
Case in point: raising your kitchen cabinets. It may seem like a crazy task, but it’s actually one of the more simple kitchen DIYs I’ve tried.
This DIY hack comes from The Crazy Craft Lady on YouTube. This is how you do it.
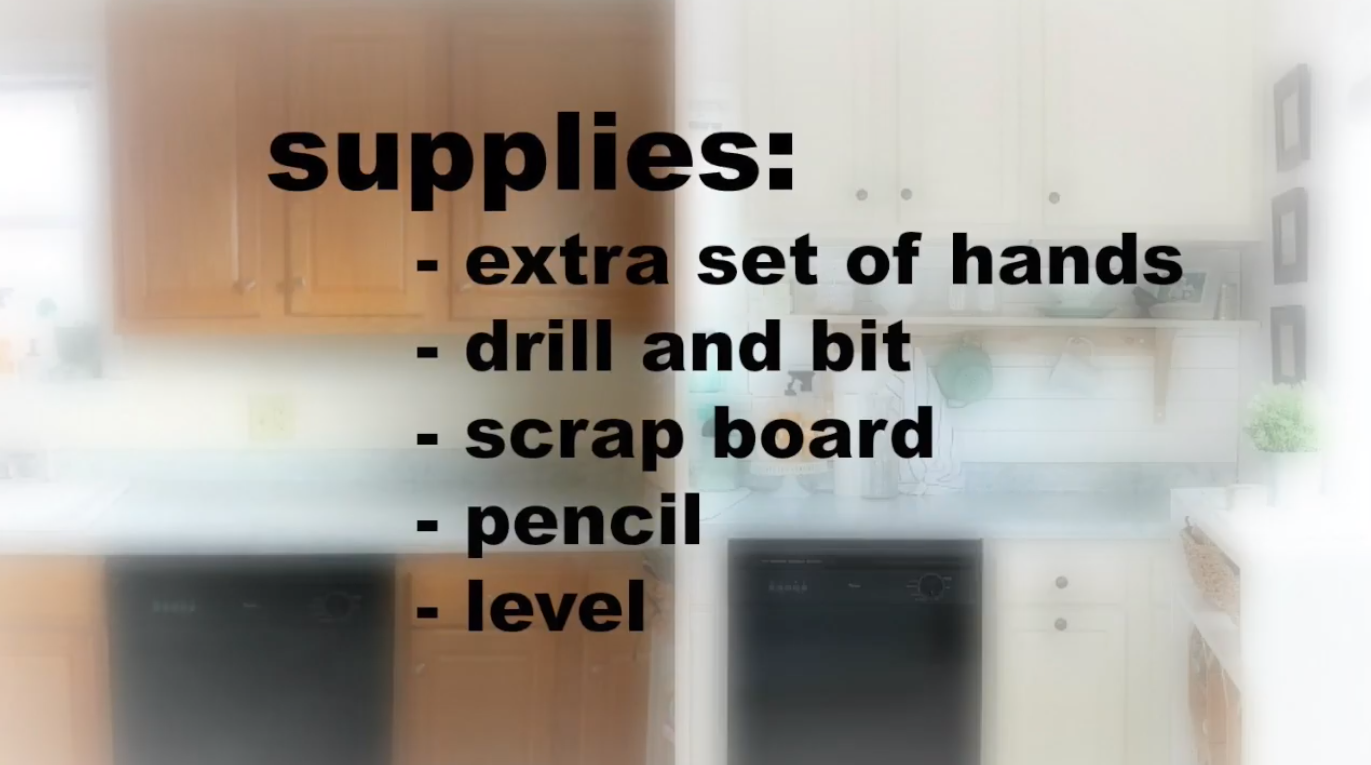
Here’s what you’ll need to get started:

Your drill and drill bit should work for the screws already in your cabinet, so make sure to have one on hand that fits the screws. Use a 1″ x 4″ for a ledger, or something similar.
Now that you’ve gathered your supplies, it couldn’t be any easier to actually move the cabinets up. If your house is on the older side, then the cabinets are likely held in place by just a few screws.
First, you’ll want to remove the cabinet doors and completely empty them. Unscrew the screws from the wall, having someone else hold the cabinet so it doesn’t fall.
Use a level to mark off the new height on the wall. Identify the original screw holes and measure straight up using the level. Leave a small gap at the top, because not all ceilings are level.
Move your cabinets up to that area, then screw them in place, screwing a ledger in the original holes below it to act as additional support.
With some paint or decorating, this DIY will be done in no time. Watch The Crazy Craft Lady‘s video below for more on how this is done, and good luck!


