Triangle quilts look super complicated. I’ve always been afraid I’d mess it up, until I found this YouTube tutorial by MadeByMarzipan.
The easiest thing about this quilt is the triangles themselves. She gives you a free printable template to work with, and once you have that, it’s pretty simple!
Advertisement
Here are her directions:
You can find the template for the 4 inch triangles here.
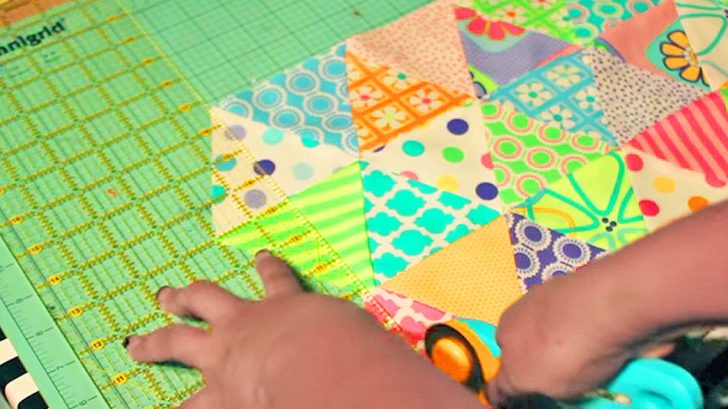
- Use a rotary cutter to cut out your desired triangle amount, making sure to cut away from yourself.
- MadeByMarzipan‘s triangle template has the points cut off. She says this will allow the seams to overlap neatly, with no need to stagger the pieces or trim the points later.
- Lay out the triangles in rows, mixing the fabrics in a whatever way you’d like. Lay the first two triangles right-sides together, then sew along the right side with a ¼ inch seam.
- Press the seam, then add the next triangle on top, right sides together, aligning the unsewn edge.
- Join the rows of triangles by placing right-sides together, and pinning the bottom edge. Add a pin at every point where the triangles meet, doing your best to align the triangles as best as you can.
- If you’ve done a good job aligning your seams, your triangles will meet in the center with nice, sharp points.
- Sew the rows together with a ¼ inch seam, and press. Continue to add rows.
- When all of your rows are done, use your rotary cutter and quilter’s ruler to cut the triangles on the left and right sides in half, giving you a straight edge for binding.
It’s really that easy. Triangle quilts don’t have to be so difficult after all!
Happy quilting!