The Ultimate Gift
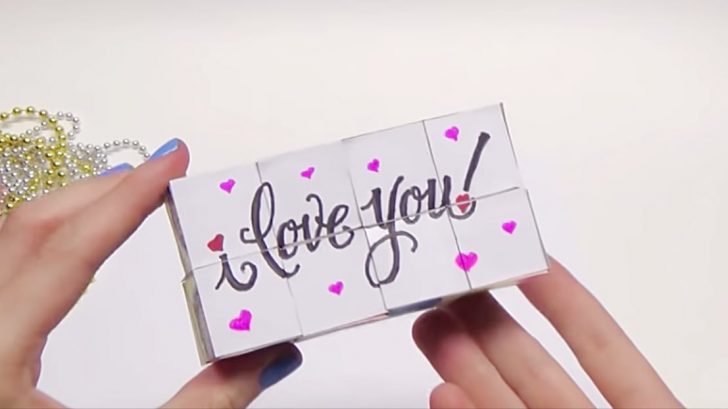
For Valentine’s Day, there’s nothing better than giving someone something that means a lot. This transforming photo cube is just that, and it’s a DIY that’s a lot of fun to make.
Add whatever pictures you want to it and give a gift that represents a whole lot of love. Here’s how to make one from scratch.
How To Make The Cube
If you don’t have access to a plain cube transformer (they sell them online), you can create your own with a piece of cardboard! Grab a piece that’s 30 cm x 30 cm.
Divide this into 12 sections at 2.5 cm each. Draw this with a pencil and then create a little Z pattern like Julia shows in her video. From there, cut out the little Zs and score each line for folding.
You’ll fold each Z into a cube and tape it off. Then, you’ll tape them together like she shows, allowing everything to fold and transform, showing different photos.
Adding The Photos
From here, you can add the photos to the blocks. If it’s a wooden transformer that you bought online, you can glue the images to each area, using an X-acto knife to cut the image to allow for folding.
If you made a cardboard version, measure out the image and cut and glue it to the cubes as you go. Once you glue your images around your cube, let it dry and you’re done!
What could be better for Valentine’s Day than a personalized gift that they’ll want to keep forever?


