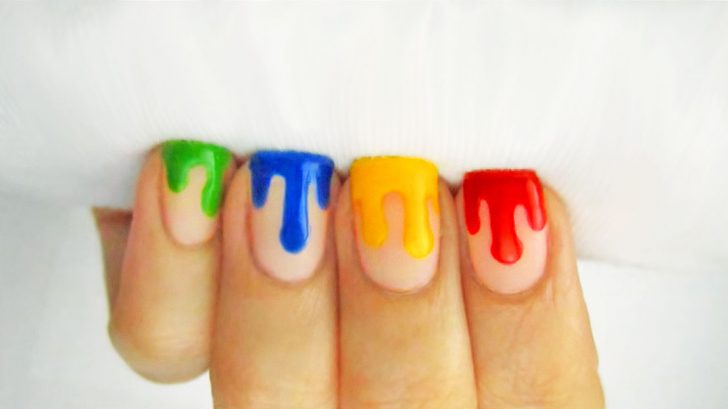
I love creative nail art. Whenever I see a new design, I always want to give it a try. When I saw this paint drip design, I figured I might be able to pull it off.
Luckily I was right, and I think you’ll be able to pull it off too. Not only is it easy to do, but it’s a design you’ll be excited to show off once it’s done!
Here’s How To Do It
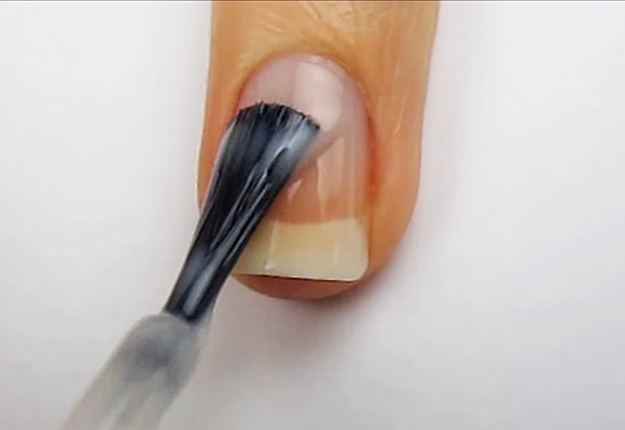
1. Start with a base coat to protect your natural nails.
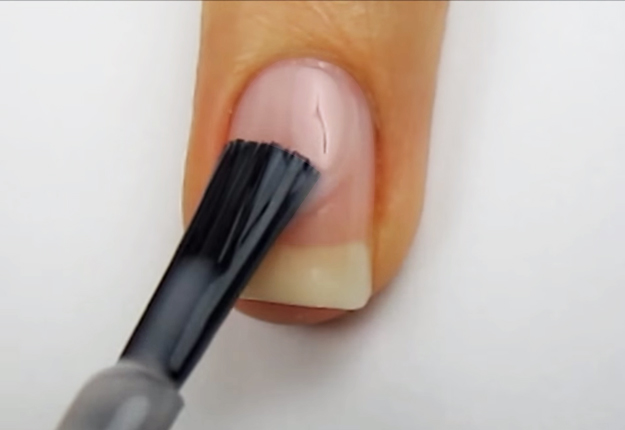
2. Next, paint your nails a sheer pink, or whatever color you see fit. Black and white would both look awesome.
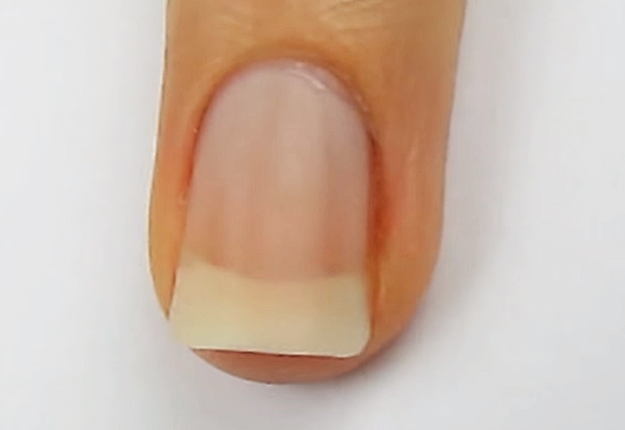
3. Add a matte top coat over the nail. Once it dries, it will remove any shine.
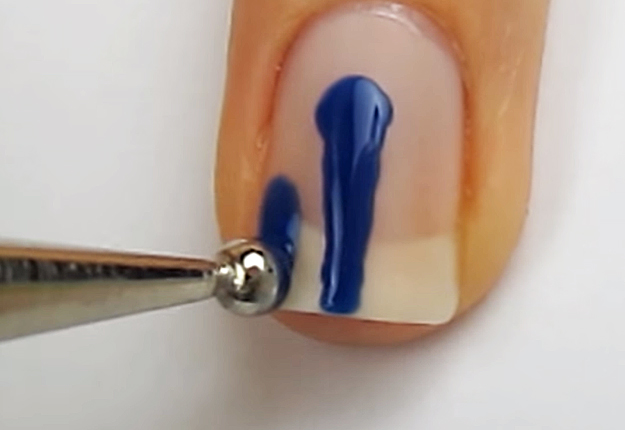
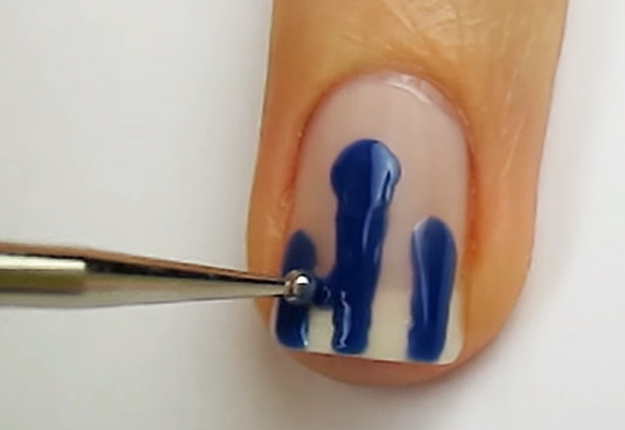
4. Use a big dotting tool to create 2 or 3 long drips of paint.
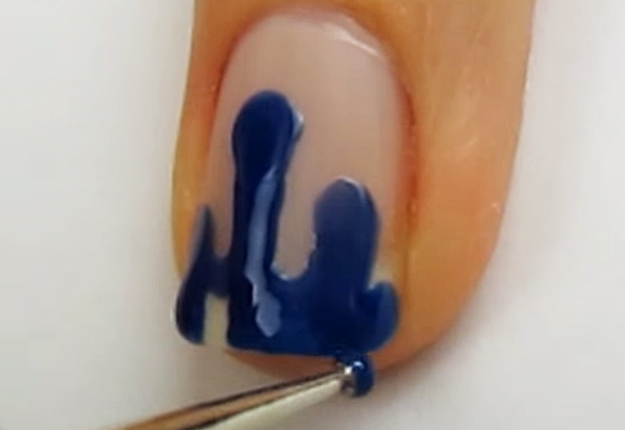
5. Next, use a smaller doting tool to connect the drips with curved lines.
6. Fill in the empty spaces.
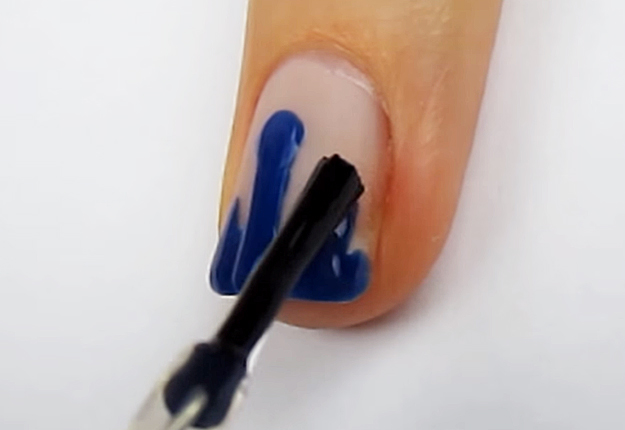
7. Lastly, add a top coat only to the dripping paint. This will create the illusion of the paint that looks wet because of the contrast against the matte nail.
Doesn’t it really look like dripping paint? They look so cool. All of my friends want to know how I did it!
Check out cutepolish‘s video below and give it a try yourself!