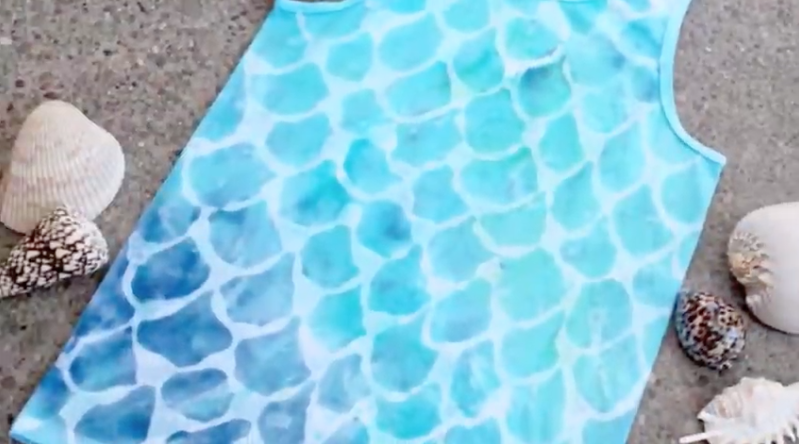
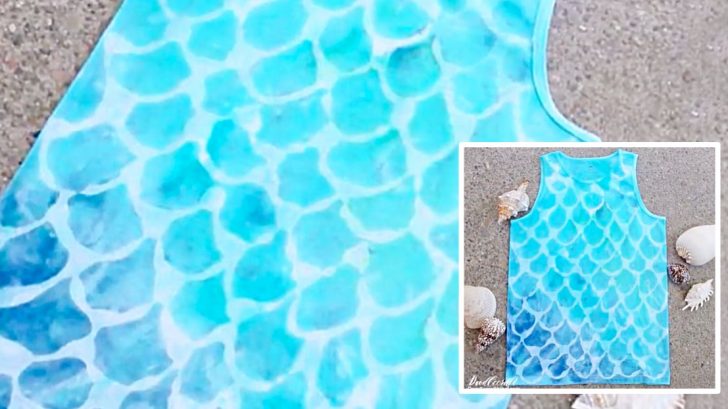
Mermaid Madness

During the summer, you can’t help but swim as much as possible. When I was a kid, that meant I would swim around, pretending I was a mermaid.
Advertisement
Obviously, as an adult, swimming around pretending I’m a mermaid in public isn’t as acceptable anymore. As unfortunate as it is, there is something you can wear to keep that mermaid spirit.
This tie-dye technique comes from YouTuber Natalie Shaw and she makes it super easy to become a mermaid. With one little hack, a regular tie-dye shirt looks like mermaid scales!
Wanna do it yourself? Here’s how.
Here’s what you’ll need:
- tacky glue
- tie-dye kit(s)
- buckets of water for the tie-dye kits
- gloves
- plastic tablecloth (optional)
- cotton shirt(s) of choice
- garbage bags
- washing machine / dryer
Start by putting the garbage bag inside the shirt. This will prevent the glue from sticking the front and the back of the shirt together.
Starting at the shoulders, use the tacky glue to draw half circles, forming a fish scale pattern. Each descending row of the half circles will begin and end in the centers of the previous circles.
Now, let the glue dry completely. Make sure your glue is water-based so it will wash out at the end. During the process, this will act as a dye blocker.
Once it’s done, you can remove your garbage bag. Now set up your tie dye kits, preferably outdoors to avoid a mess. You can use a plastic tablecloth too, if necessary.
Put on some gloves and mix up the tie-dye powders with the necessary amounts of water. Quickly soak your shirt(s) with plain water.
Now tie dye it how you please! Natalie uses navy, teal, aqua, blue and green and makes diagonal lines with the dyes. Wrap the shirt in another garbage bag and set it out in the sun for 6 to 8 hours.
After it’s completely set, rinse it thoroughly with water until it runs clear. The majority of your glue should go with this as well.
Now wash and dry your shirt with soap on a regular cycle. Once it’s dried, you’re ready to put it on and become the mermaid you’ve always been inside!
Watch Natalie’s video below to get a better idea of how this is done. Happy summer!


