Everyone who sews needs a pin cushion. You probably already have one– a little circular pillow. Nothing special, but useful nonetheless.
If you’re on the quirkier side, maybe you want a pin cushion with some personality. That’s where Missouri Star Quilting Company comes in with this YouTube tutorial.
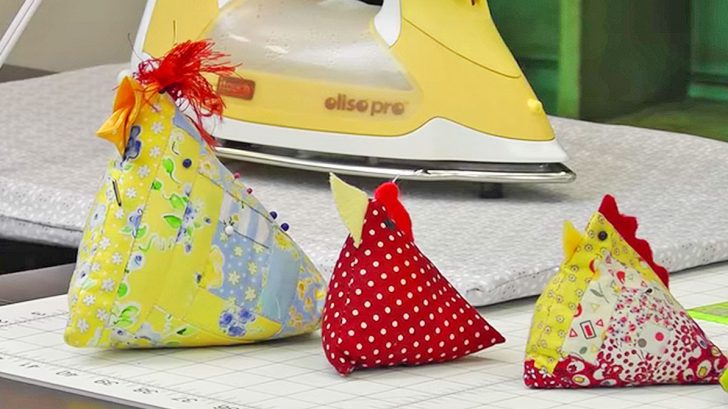
This pin cushion looks like a chicken. It’s seriously the cutest thing ever, and I’ve already made a few for my sewing room!
All you need to make these chickens are:
- 2 same-size squares of fabric. You can either use solid fabric, or left over quilting blocks.
- 1.5 inch square for the beak
- 2.5 inch square for the tail
- Scrap fabric or yarn for the scruff on the top of their heads
With all of the different fabric choices, the possibilities are endless!
If you’re using scrap fabric as your scruff, cut a 2.5 inch long and 1.25 inch wide strip. Fold it in half and press it out.
Fold your tail piece diagonally twice. Do the same thing to the beak piece. These are both called prairie points.
On one of your blocks, place the beak on one edge with the raw edges facing outward, and on the corresponding edge, place the scruff with the raw edges inwards like this:
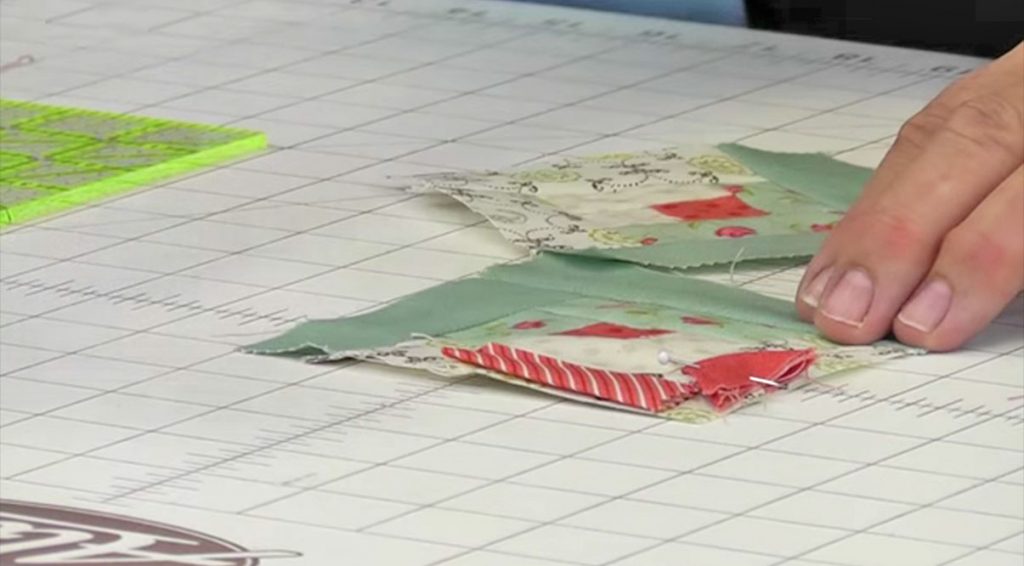
Put the two blocks right sides together and pin. Sew the two edges with the beak and scruff. Flip right side out and clip the scruff piece however you’d like it to look.
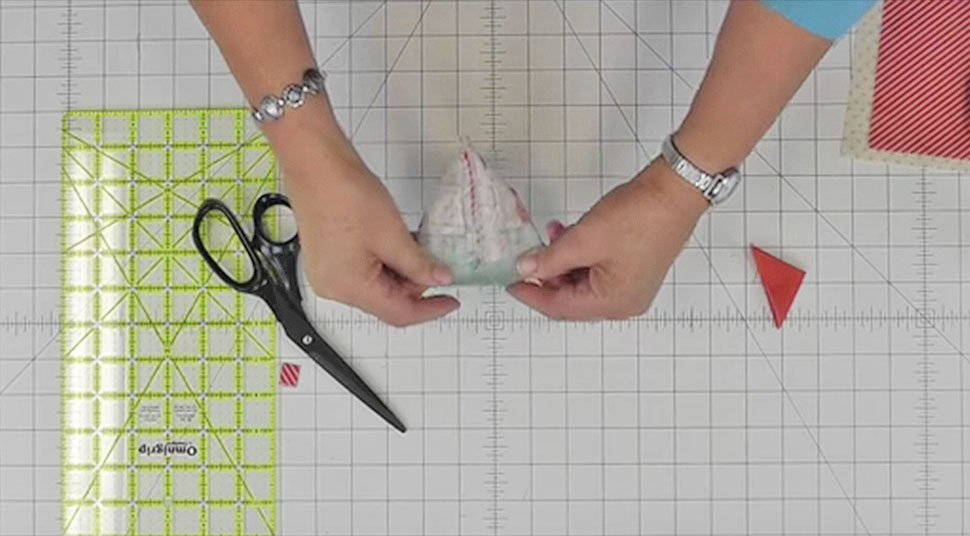
Flip inside out again and sew the third side down, leaving about an inch and a half opening for stuffing. Then take the last opening and stretch it vertically, where the other two seams meet.
This will create the shape below. Insert the tail piece with the raw edges at the opening, matching it up with the middle seam. Sew closed.
You can stuff whatever you’d like in here before you sew up the inch and a half opening.
Jenny with Missouri Star Quilting Company suggests using lizard litter, which is basically crushed walnut shells. This will keep your pins and needles sharp. For eyes, stick in some pins above the beak.
That’s it, you’re done!
You’ll end up becoming addicted to making these little guys. This is literally me every time I go into my sewing room now, and I’m pretty sure it’ll be you too.