Kitty Wallet
![]()
I remember when I was in middle school and I was given my first wallet. I was so excited to have money sometimes, let alone somewhere to keep it.
Whether you’ve gone through quite a few wallets are need your first one, I have a suggestion for you: make one! They’re super cute and unique, and they’re customized exactly how you need them.
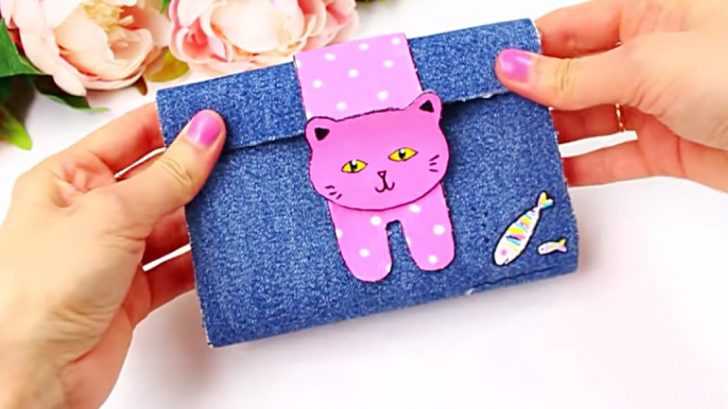
My favorite DIY wallet is this cute little kitty wallet. Luckily, it’s super easy to make, so you can have your own in no time! Let’s start by gathering the supplies.
Here’s what you’ll need to make your own:
- 2 pcs. denim or thick fabric (24×15 cm each)
- 2 pcs. paper (24×15 cm each)
- fabric for inside pocket (19×14 cm)
- 2 pcs of fabric (for folds on the sides, 6×10 cm each)
- fabric for making the kitty
- zipper (15 cm)
- velcro tape for clip the wallet
- acrylic paints
- PVA Glue
- hot glue
How It’s Done

First, begin by cutting up the fabric you need to make the wallet. Then, use the PVA glue to glue the paper to the denim fabric. This will stiffen the fabric and make it more durable.
From here, use the PVA glue to glue the pieces of denim, paper sides together. Use something to press it, like a stack of books, and leave until dry.
Fold your inside pocket fabric in half. Hot glue your zipper to each side of your folded inside pocket. Zip it up, then hot glue the sides together to form the final inner pocket.
Fold up your side fold fabric into accordion like shapes. Then, as shown in the video, hot glue that to your inner pocket fabric. Glue those folds to each end of your denim and fold, also as shown in the video.
There will be an additional denim or fabric for the cat and decorations. Add paper to the denim to strengthen it. Then, fold in half to secure with the other side of the fabric. Press until dry.
Cut out your desired shape. Then, paint it how you’d like. Let it dry, then secure it to the wallet as shown in the video to make a closure. Hot glue on your velcro, and you’re done!
Watch DIY Crafts TV‘s video below to get a better idea of how this is done, then have fun making your own!