Quilting with a ruler usually makes things a lot easier, but when it comes to quilting a curve, sometimes using a ruler is a little more difficult than it seems.
Curved rulers may be a bit more difficult to maneuver, but once you get the hang of it, it’s beyond easy to do. YouTuber Angela Walters has the perfect tutorial for getting this done.
To get started, you’ll need a curved ruler. Regardless of if you’re working with a long arm like Angela, or a more traditional sewing machine, the method is pretty much the same.
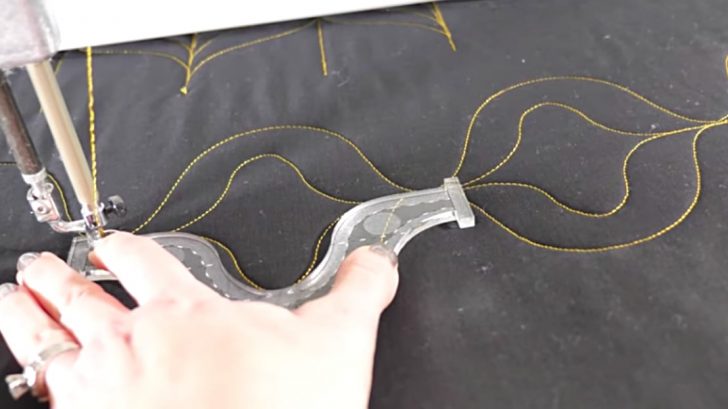
The curve Angela is working with allows you to create a serpentine line. You can get that exact ruler by clicking here. Otherwise, grab your ruler and let’s get started.
The trick for getting a curve perfect is to work slowly. As you go, make sure you put light pressure on the ruler to make sure it doesn’t slip out of place.
The needle will be in a different direction in relation to the ruler as you quilt, so you need to make sure you take note of the direction while you sew. This is why working slowly can come in handy.
As you move from the left to the right, you’ll notice the curve start to form. Once you’re done with one curve, you can use it to create a design with even more curves! How fun!
Watch Angela explain this in more detail in the video below, then you can get to curvin’!