Quilt making is a ton of fun, but it can be time consuming. If I can find a way to cut corners and get the same result, you bet I’m gonna do it!
Mitered quilts take a long time to do, but the result is gorgeous. How can you get a mitered quilt without all of the work?
By reversing the steps!
That’s right, if you change the order in which you do the necessary mitering steps, it’ll save time and give you the same quilt! Laura from SewVeryEasy taught me how to do it, and it couldn’t be more simple.
In order to do this, all you need is strips of fabric that all have the same length and width. Take your strips and sew them together in units of 2, matching up the selvage edge.
Take two of your units and place them right sides together. Stitch down the length of these strips on both sides, forming a tube.
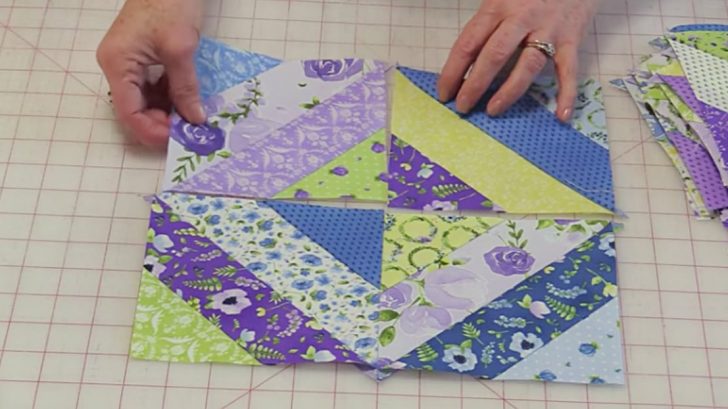
Using a ruler, cut out triangles (a square block folded diagonally,) and once you open it up, you’ll have your block all done!
By reversing the steps to a mitered block, sewing first and cutting second, you save loads of time and end up with the same results!
Watch Laura walk through the steps in her tutorial below, then give this simplified version a shot yourself!