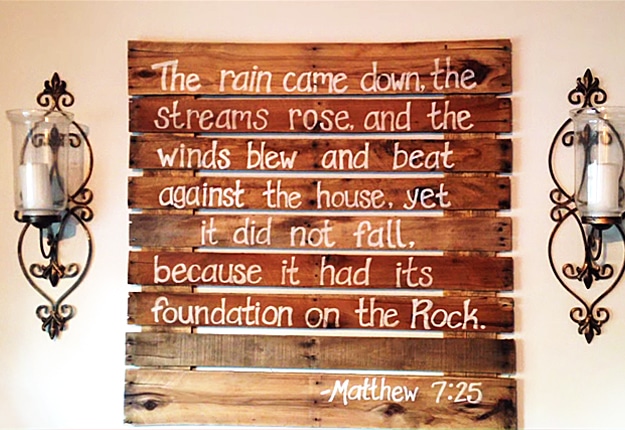
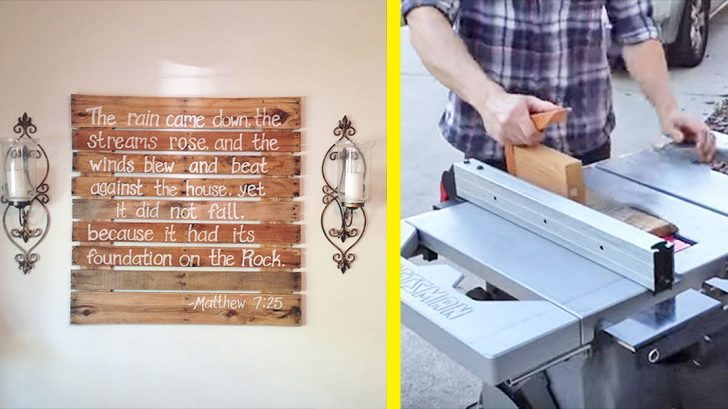
Wood pallets are my favorite thing to use for crafting. Oftentimes they’re free, and they’re super rustic looking and versatile. I always love whatever I come up with with these.
Wood pallet signs are no different. They’re super cheap, easy to make, and look incredible no matter where you put them.
The best part about these is how customizable they are. Whatever you can imagine on these, you can create.
Wanna make one for yourself? Here’s how.
What You Need:
- Wood Pallet (go to shipping warehouses for these. You may be able to get it for free)
- Hammer
- Table saw
- 80 grit sander
- Glue
- Cleat hanger
Step 1
Disassemble the wood pallet, removing the side frames and all the nails. You should be left with wooden boards that measure 2 ft. wide 3 ft. long.

Step 2
Trim and blunt all the edges of the wooden boards to make them uniform in size using a table saw. Lay the wooden boards on your working table ensuring the gaps in between are the same.

Step 3
Using an 80 grit sander, you can start polishing the surface of the wooden boards. We want our pallet to look rustic, so don’t over-polish the top surface.

Step 4
You can now start gluing the wooden boards on the frame to hold it in place, making sure there’s an even space in between them.

Step 5
A cleat hanger is recommended for hanging your pallet sign. Ensure that it is glued securely on the top portion of your pallet sign and reinforce with nails.

Step 6
Now, you can paint the board with your preferred design or your favorite quotes. Add whatever you’d like!

______________________________
What are you going to put on yours?

