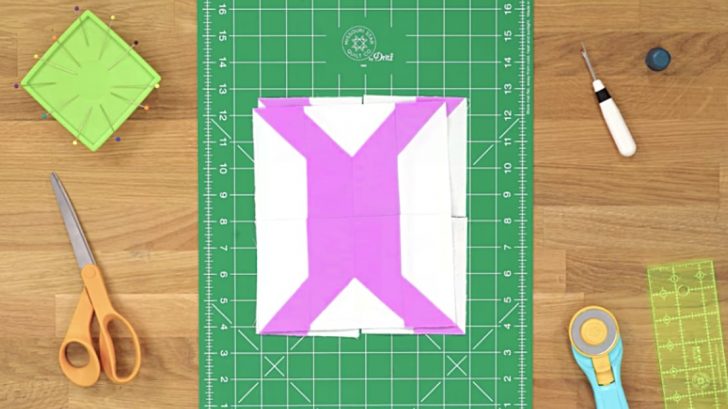
Jumping jack blocks are a simple quilting block that pack a huge punch once they’re all sewed together. I love making these, and learning how is so easy.
My favorite tutorial comes from Missouri Star Quilt Company. The end result is adorable, the steps are concise and streamlined, and it’s super easy to follow.
If you want to get started on your own jumping jack block, here’s how to do it.
You will need:
- 5″ background squares
- 5″ print squares
- Sewing machine
Stack a print and a background square on top of one another. Draw a line corner to corner. Sew a 1/4″ seam on both sides. Cut it in half. Open, then press.
You’ll want to make 4 of these. Lay them out, having all of the triangles of the same color facing each other and the points coming together. You can check the video below for a visual.
Cut blocks in half vertically. Arrange the blocks as shown in the video below, then sew together. Repeat until you have your quilt top, and you’re done!
How do you do your jumping jack blocks?


