Summer Shorts

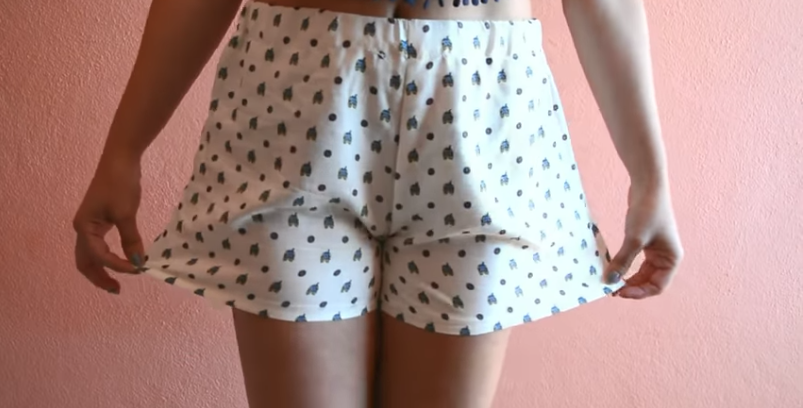
For summertime, wearing shorts is perfect. They keep you cool, they look really pretty on, and they’re cheap and easy to make. What could possibly be better than that?
Wanna make them yourself? Let’s start with this tutorial by The Polkadotter and make our own, shall we?
You will need:
- fabric (enough to cover whoever you’re making these shorts for)
- 1.5 cm elastic
- scissors
- thread & needle/ sewing machine
- pins
- old shorts for pattern
- safety pin
Step #1: Cut
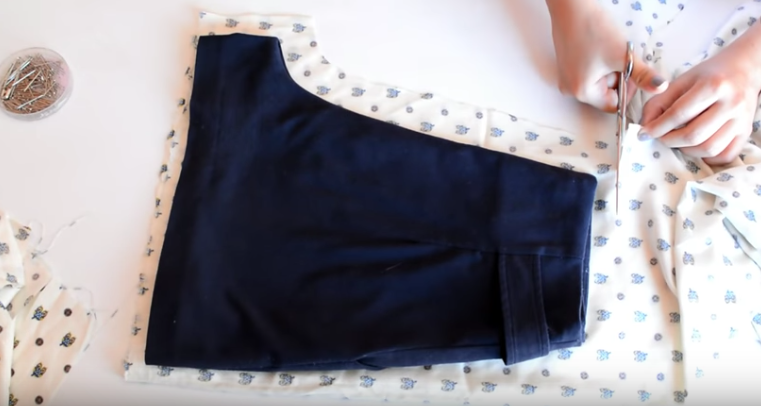
Make a pattern with your old shorts. Place your fabric with the reverse out folded in half, and then put your shorts on top of the folded fabric to mark. Add 2cm more along the shorts. Now cut!
You should have the two front parts. Repeat for the back portions of the shorts, and you’ll have 4 total pieces, ready to sew.
Step #2: Pin & Sew
Put together a front piece with a back piece, pinning along the lateral side and the small area. Sew along these pinned areas using a straight point with medium length and tension.
For the extremity of the fabric, The Polkadotter recommends sewing with a zig zag. This will keep the fabric from shredding. Do this on both the lateral and smaller area of the leg. Repeat on the other.
Step #3: Put Them Together
Flip one of the legs right side out, then place it inside the inside out leg. Align the curved areas, then pin it and sew it in place.
Step #4: Add Your Elastic
Now it’s time to add an elastic in the waistband. Sew it in a fold at the top so you can have your shorts sitting perfectly wherever you’d like it to sit.
Step #5: Hem The Legs
Finally, you’ve got to hem your legs. When you do this, it’ll make your shorts stay the length you want them to stay, and the fabric won’t fray. Perfect!
___________________________________
Check out The Polkadotter‘s video below to get a better idea of how this is done, then you can sew these up yourself and wear these shorts all summer long!


