String art is one of the easiest art projects anyone can do. From simple designs like hearts and moons to more intricate patterns and more, creating a nail art design is accessible for nearly anyone.
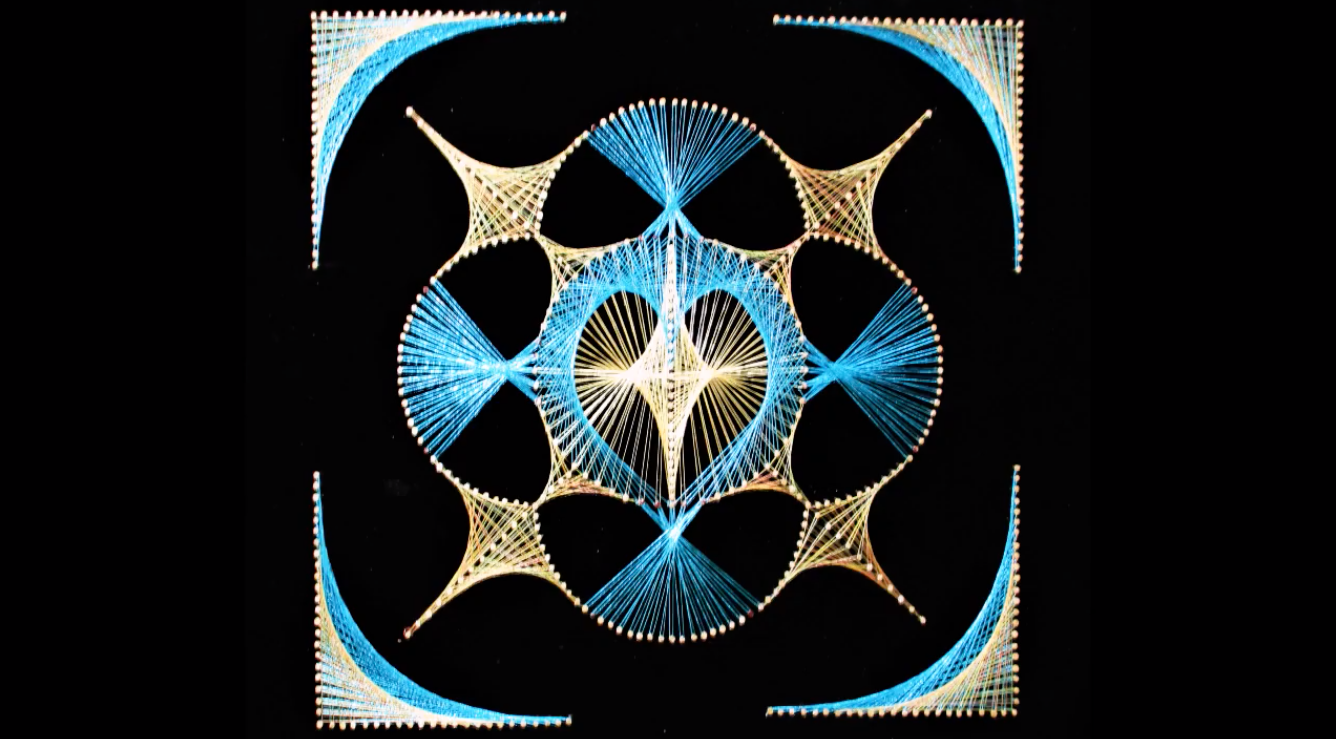
Today, I stumbled upon a design that mimics the intricate pattern known as the mandala. A video tutorial by Arts& Crafts on YouTube shows you how it’s done, and it’s super easy to do.
Making wall art is usually a gamble– you never know if it’s going to turn out even close to how you want it. There are some wall art ideas that don’t require a ton of artistic skill, and luckily, this is one of them.
String nail art like this mandala is really easy to accomplish. All you need to do is take a piece of wood, and print out a design that will fit on that wood piece.
Tape the design to the wood, then take some nails and outline the design with them, hammering them in place. Remove the paper by ripping it off, and scrub or pluck off any excess paper.
If a nail or two came loose, nail them back into their spots, using superglue to get them to really stay.
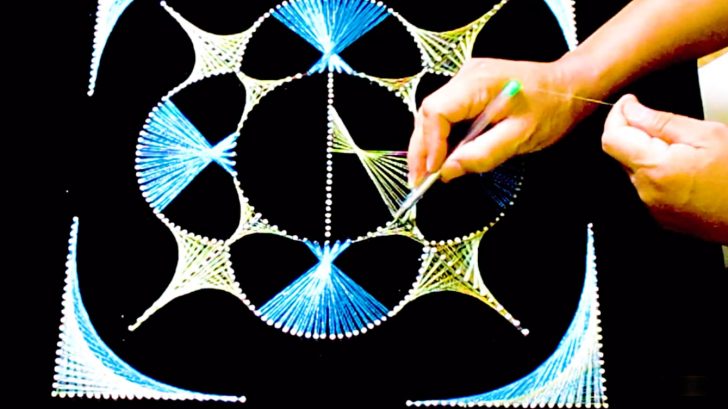
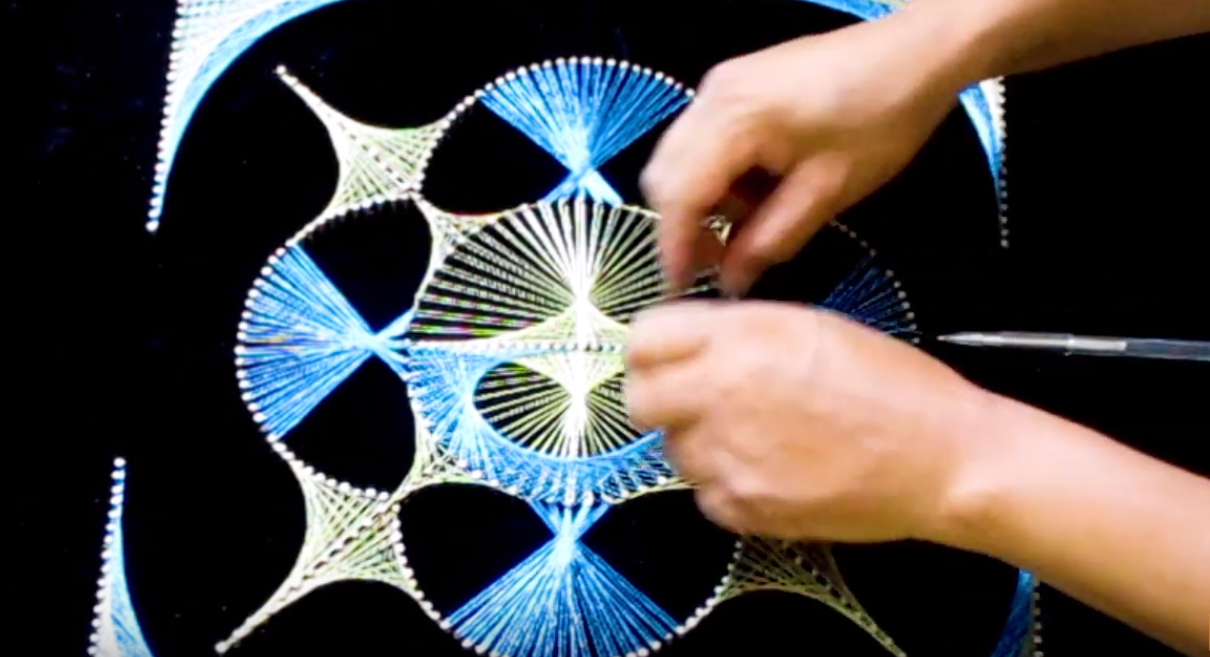
Using some string of your choice, loop it around a nail for a starting point, and tie a knot to keep it in place. Wind string around the nails to outline the design until you get back to the original nail, tying it in place again.
Fill in the design by using the same method, weaving it in a pattern or randomly until you get the result you desire. You can watch the video below for the exact winding pattern he uses.
Attach some hooks to hang it up with (you can do this before you start hammering in your nails if you’d prefer,) and you’re all done!