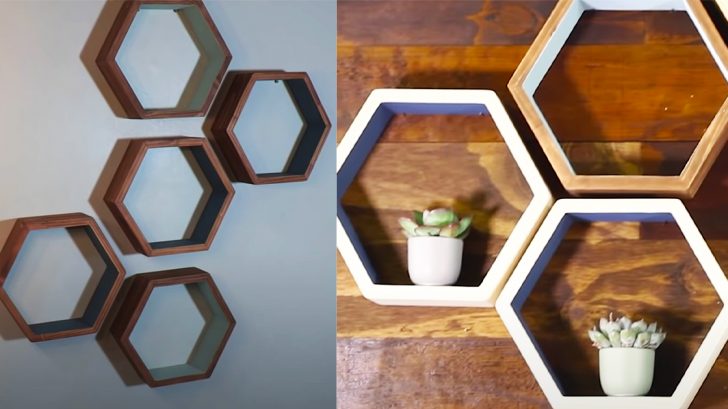
I’ve noticed floating shelves have become more popular for a lot of modern houses. This DIY floating hexagon shelf tutorial by BuildersSA recommends keeping the shelves the same size if you’re trying to stack them. The size is entirely up to the person, but I would make them medium-sized. I love how the shelves remind me of honeycombs. Also, I love the natural wood color on the hexagons, but it’s also nice to see that you can wood stain them based on your style. Whether in a cluster or just one, these wall shelves or display units can add both decoration and organization to your home.
Materials:
- tape measure
- pencil
- masking tape
- wood filler
- wood glue
- sander
- mitre saw
- wood
- spray paint (optional)
- wood stain (optional)
Directions:
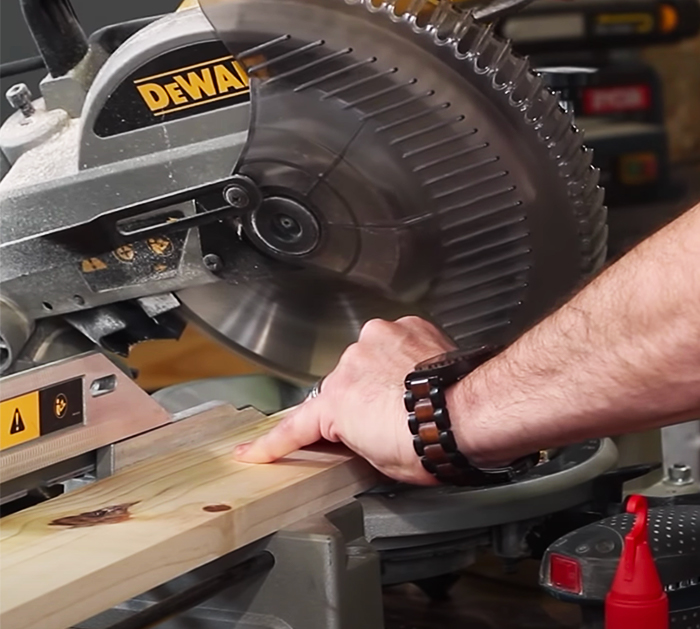
First, start making diagonal cuts at 30 degrees angle. Take your wood and use your mitre saw for your first cut. Flip the wood over and measure the exact size OR Whenever you’re doing repeated cuts using a mitre saw, set up a stopper to ensure you get the same length cut every time.

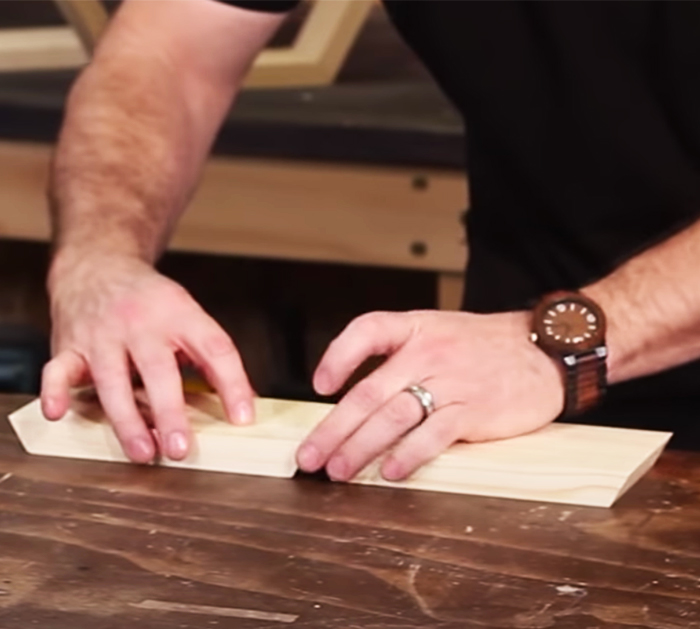
Next, place the first piece with the inside face down, followed by the next pieces. Make sure they are in a straight line. Take your masking tape and tape from one end to the other on each side. Continue to watch BuildersSA tutorial on YouTube on for final instructions on how to make floating hexagon shelves.

In conclusion, this is a great woodworking project for beginners. This is a great accent to a minimalist or natural home. It’s an affordable project because I know these floating hexagon shelves can run pricey at the store. Whether if it’s to hang home decor or succulents, these floating hexagon shelves provide the perfect cubby and display.

