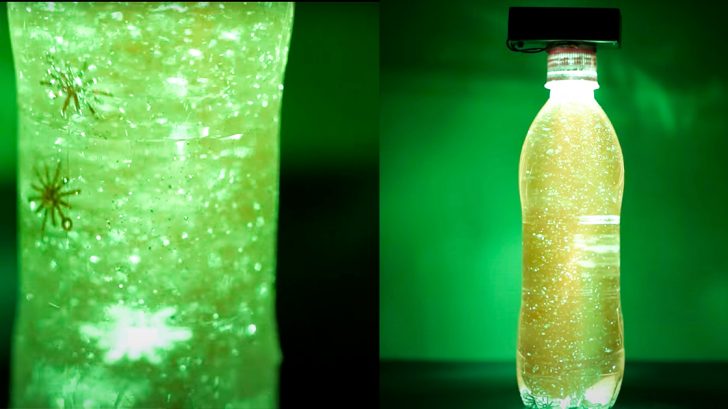
This DIY fairy jar craft reminds me of a kid’s light projector or a glow in a dark toy. I think this is pretty neat to make this fairy jar to light up a children’s room. I Love Creativity tutorial on YouTube is easy to follow along with. There are no complicated steps to making this, and the video is under 2 minutes. I think it would be easy to master this craft down and would take no longer than 25 minutes max. The only difficult part I can imagine for people would be making the circuit that goes on top of the bottle to create a light effect. Be safe when adding the battery to the circuit series. In conclusion, it’s pretty cool to watch the glitter swim around and the light shining out.
Materials:
- 9V Battery Case
- LED’s
- Glycerin
- Sequin Round
- Sequin Mix
- Glitters
- Heat Shrink tube
- Hot glue gun
- Soldering Iron
Directions:
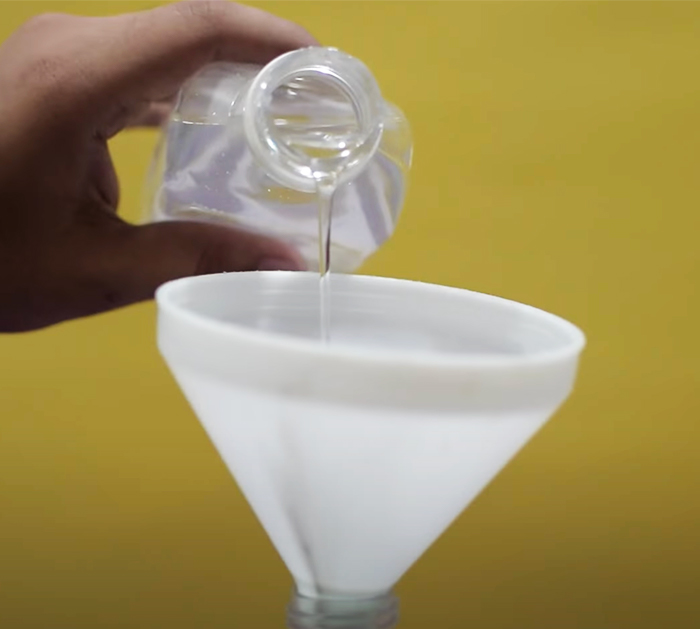
First, grab a jar or bottle to use as the base of this craft. Pour the glitter in the bottle, fill with glycerin and top off the rest with hot water. Add any cute craft decorations in the bottle, and shake well.

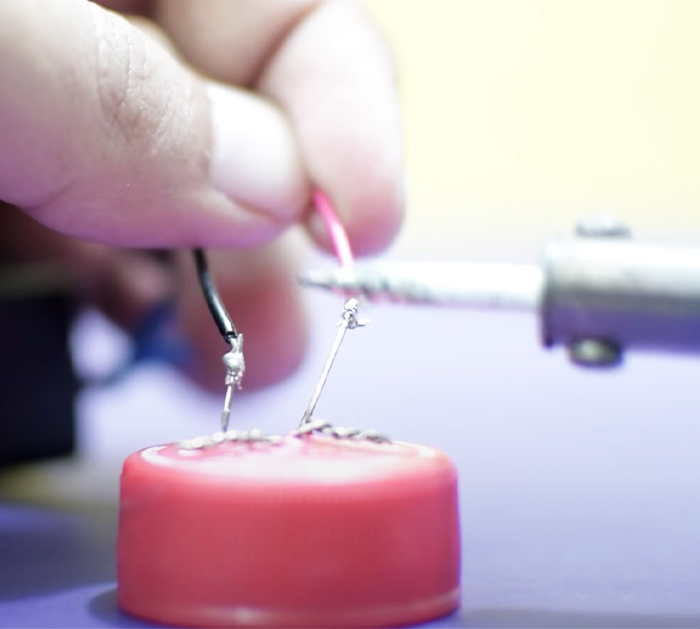
Second, continue to watch I Love Creativity tutorial on YouTube to make the light and series circuit that goes on top of the bottle. This will light up the bottle and create a long-lasting fairy jar. All you would need to do is switch out the battery if it dies.

Overall, this is a quick and simple tutorial. I would definitely make this fair jar in a mason jar for a nicer look instead of a plastic bottle. In my opinion, the plastic bottle makes it look cheap, and I think it’ll put the whole craft together if it was in a nicer jar.

