Pressing is a necessity for most sewing and quilting projects. That means a good surface to do this on is also a necessity.
With a good pressing surface, such as a pressing board, you have the maximum potential for making that perfect quilting block, pants hem, or any other stitch.
So why not make your own pressing board? If you have some leftover batting from some previous projects, some fabric and a piece of wood, you can do just that. Here’s how.
Here’s all you’ll need:
- A piece of plywood. She uses a 12″x12″ square that’s 1/2″ thick.
- Batting (pressed on the highest setting)
- White glue
- Aluminum foil
- Double sided tape (optional)
- Fabric to cover it (she uses sports weight cotton)
Glue aluminum foil to all sides of your wood, making sure the shiny sides face upwards. Use either glue or double sided tape to stick on your first layer of pressed batting.
Build up the batting to your desired thickness. Laura Coia from Sew Very Easy used 3 layers. Next, you’ll make the cover.
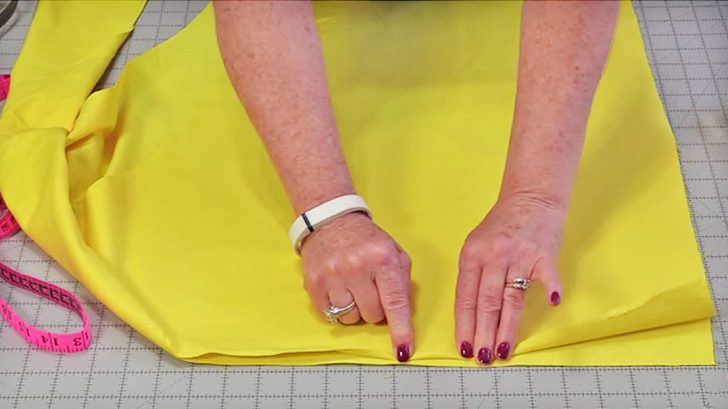
Make the cover by measuring how large the board is all the way around. Make sure to leave a seam allowance of at least 1/4″, then cut the necessary fabric.
Flip the fabric inside out. Sew all the way around, leaving one end open. Mark about 1/2″ on each corner in order to create a box corner. Sew, then flip right side in.
Slowly put the wood piece in, and after every few inches, make sure it’s straight and the batting is in place. Once it’s all in, fold the excess fabric over and hand stitch it in place.
Now you have a pressing board!
If you’d like a visual and more details, watch SewVeryEasy‘s tutorial below and get to making your own!