If you’ve been quilting for a while, you’ve probably heard of “stippling.” If you haven’t been quilting for a while, you quite possibly are picturing Bob Ross right now.

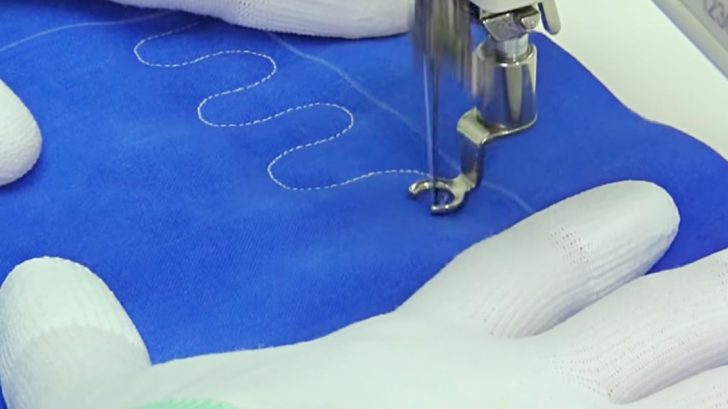
The basic breakdown of stippling is stitching a wiggly line that does not cross over itself. The easiest way you can interpret this is as a ton of wiggly “U” shapes, and that’s what you’ll start out with.
Think of your needle as a pen, and your fabric as paper. How would you move the paper to allow the pen to draw these “U” shapes? That’s how you’ll want to move while you sew.
Eventually, you may want to make your stippling more complex in order to bring some more dimension into your quilt.

All you need to do to get this right is move your wiggles in different areas, being sure not to cross over the same spot twice. Stop your machine periodically if you need to.
As long as you stitch curving shapes and work as much as you can to avoid backing yourself into a corner, you should be good. YouTuber Leah Day compares it to writing in cursive.
Then that’s it. It’s really that simple! If you want a video walkthrough, watch Leah Day’s video below, then get to stitching.
What tips do you use for your stippling?