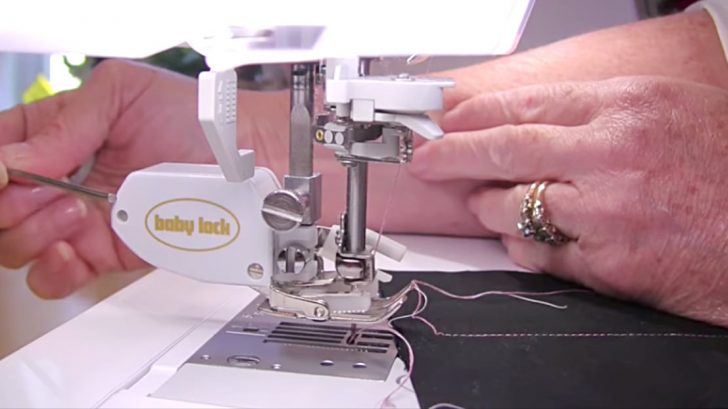
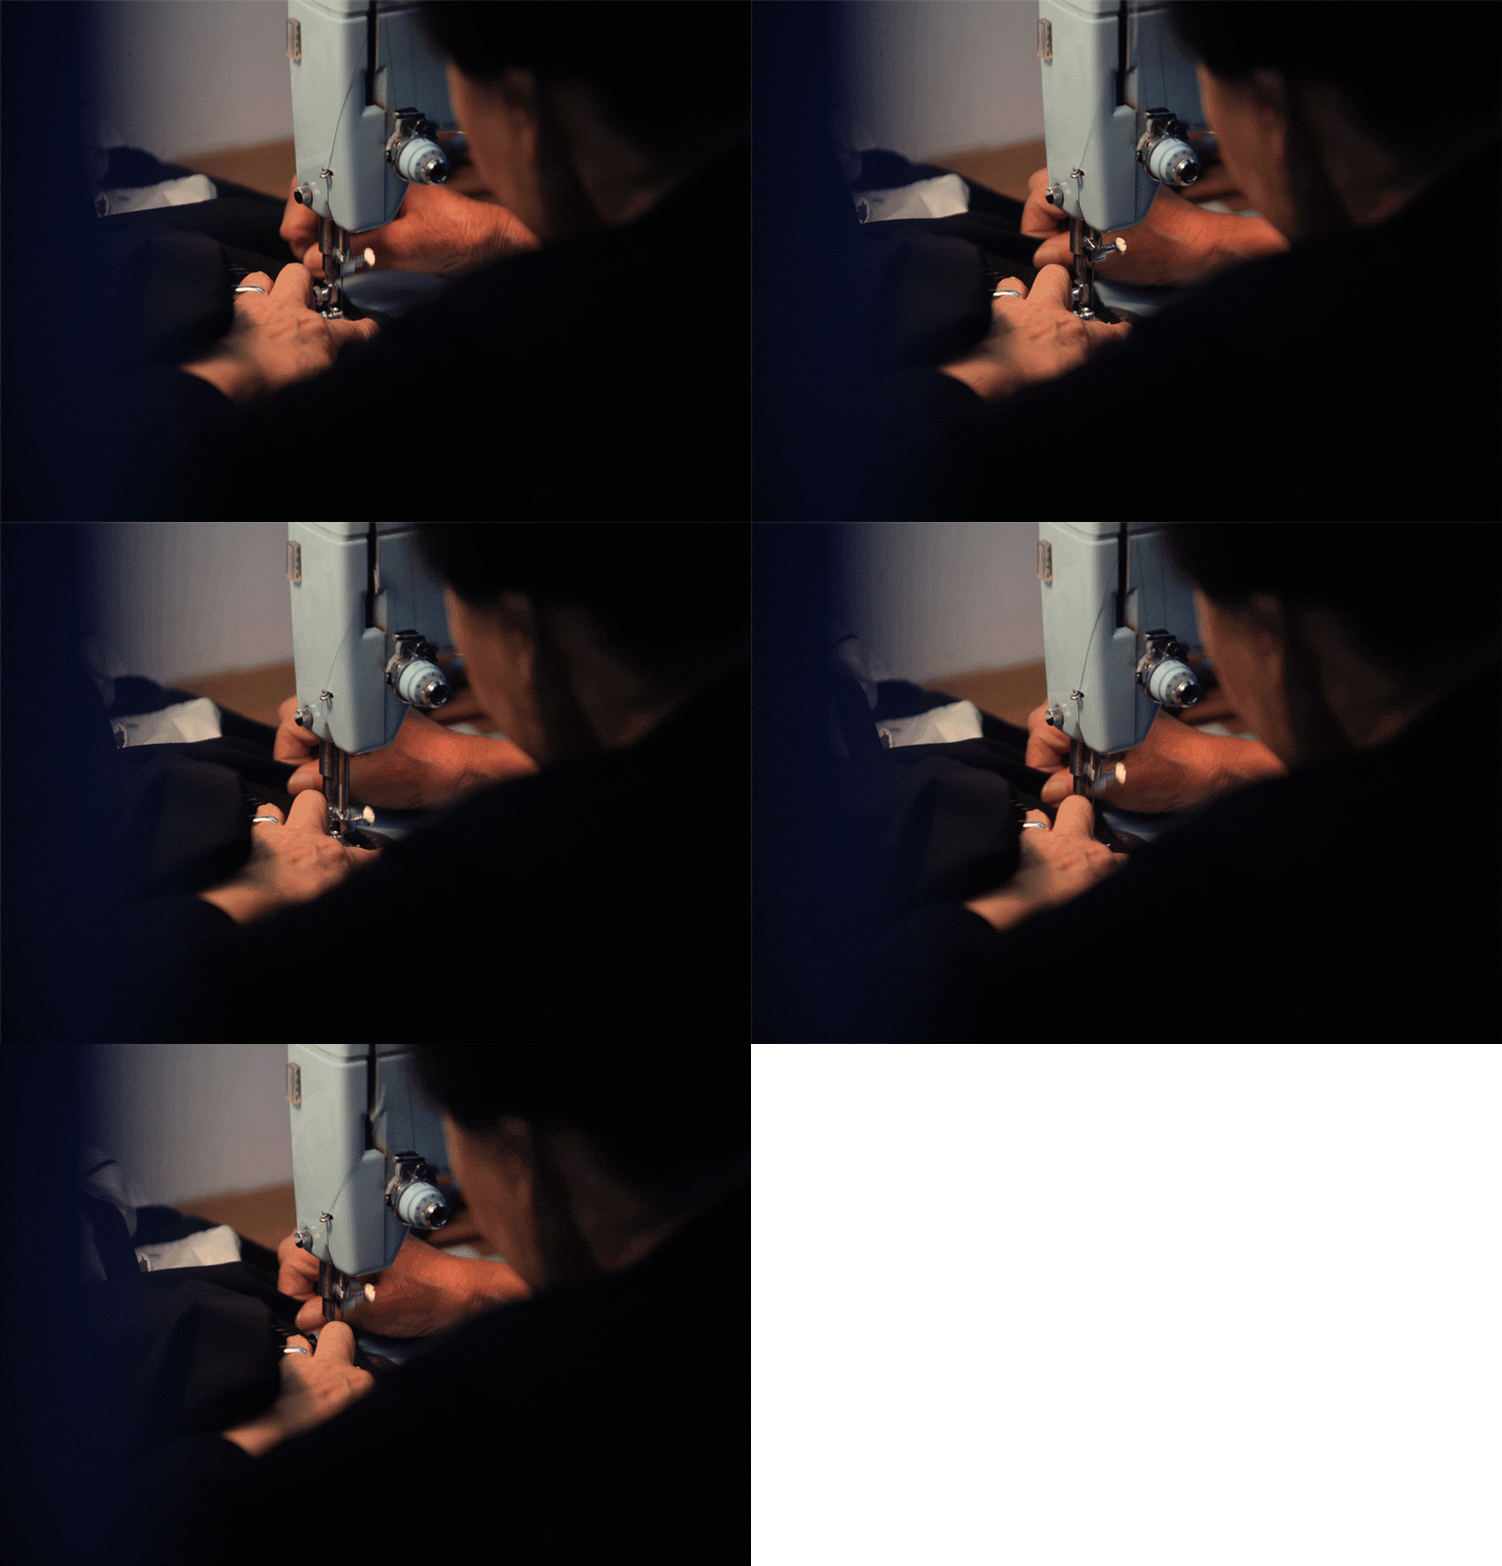
A walking foot is one of the most useful attachments you can put on your sewing machine. They prevent fabric from shifting, and work with a variety of projects.
It easily sews thick fabric, slippery fabric, puffy fabric, and quilts. There are even specific decorative stitches you can do only with a walking foot!
Needless to say, learning how to use one of these is a necessity for any sewer or quilter.
Installing the foot differs for each machine, but usually there’s a screw you need to unscrew, an attachment to place, and then your can screw that screw back in place and attach your foot.
Each walking foot has a U-piece or bar that moves up and down with the needle. Some walking feet have a hole in the back, to put an additional bar in.
These additional bars follow the fabric as it’s being stitched, making for even spacing and steadier sewing.
Walking feet also have teeth to help the teeth of the actual machine, which feeds the fabric in evenly. It will pull the fabric into the back and slide rather than tug.
The bar attachment will allow you to have even lines between multiple stitches, keeping that area in place while the fabric is being sewn elsewhere.
When using a walking foot, it’s important to remember not to backstitch. There are multiple stitches you can use with a walking foot, but this is not one of them.
These little pointers definitely helped me with my projects, and I’m sure they’ll help you too. Watch Laura’s video below and give these tips a shot yourself!


