It’s Too Easy
Quilting is my passion. I love the sense of accomplishment you get from finally finishing a project you’ve been working on.
That last step of quilting can sometimes be a bit of a challenge, whether you’re a novice quilter or a full-on expert! Because of this, I’m always looking for a new and easy way.
I think I may have found the easiest way there is. It’s called the invisible join, and I’ve become an expert on doing this in no time. I feel like I could do it with my eyes closed now!
Jody Sanders from All People Quilt teaches us the easiest way to do an invisible join. It’s so easy, the entire video tutorial is less than 5 minutes!
Wanna get started on learning how to do this for yourself? No problem. Let’s get started!
How It’s Done
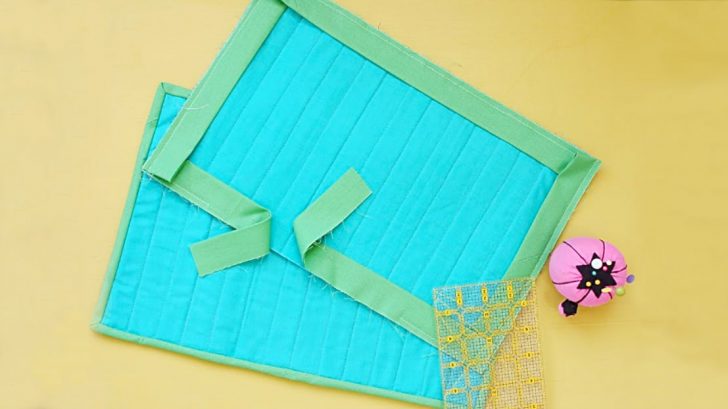
Begin by sewing your binding all the way around with mitered corners, then we can start doing the invisible join at the end of the binding strip. You won’t even be able to tell it’s there!
Overlap the strips like Jody shows in the video below. Then, mark your overlap with a pencil and a small quilting ruler. Trim the excess binding with a pair of scissors.
Now, place the right sides together of your bindings just like it’s shown in the video below. You’ll line these up perpendicularly. Grab a small ruler and mark a diagonal line with a pencil on the wrong side.
Pin, then sew up like it’s shown in the video. It’s really that simple, and your binding is done!
What’s your favorite binding trick?


