I’ve always loved the flying geese block. It’s super cute, easy to do, and is a great project to practice 1/4″ seams. I used this quilt pattern to teach my daughter!
Learning how to do it is simple, but there are a few things you need to keep in mind. That’s why I love Laura Ann Coia’s tutorial with SewVeryEasy.
Here’s how you do it.
Be sure to starch and press the fabric before you cut the following:
- 3″ x 5.5″ in 2 different colors (8)
- 3″ squares (16) with a diagonal line drawn on the back
Place one of the squares on one of the corners of the 3″ x 5.5″ strips, right sides together. Stitch right next to that line, toward the corner.
Cut off the corner, then fold and press the sewed piece to form a new one. Repeat the process on the opposite side, with the diagonal line facing the opposite way.
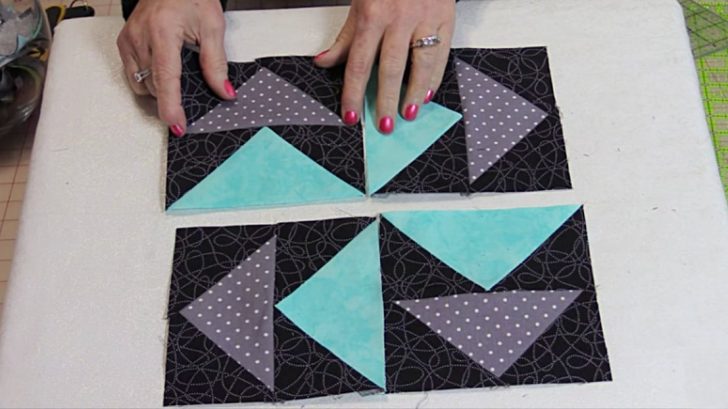
This will form two corners and a small triangle in the middle. To form a full block, repeat this full process one more time, then stitch the two together, both triangles facing the same direction.
Once you finish the blocks, arrange them in an alternating pattern, and you’ll have a finished quilt top!
What’s your favorite way to do the flying geese pattern?