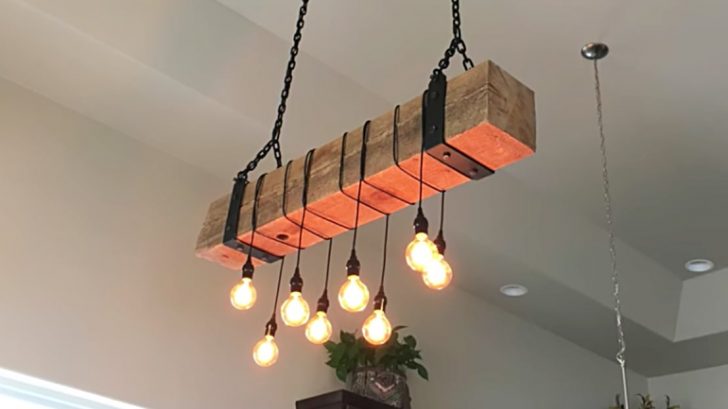
The Chandelier Of Your Dreams
Nothing completes a room quite like a gorgeous light fixture. I love rustic ones, so when I saw this DIY chandelier by Kraftmade, I nearly screamed.
I knew I had to make it myself! Luckily, it was a lot easier than it looks, so I had it done pretty quickly. You can make it too. All you need to do is start by grabbing your supplies.
You will need the following to create this hanging rustic chandelier:
- a large piece of reclaimed wood
- tools such as a saw and a sander
- metal parts to attach the wood to the chains
- chains that match the metal parts
- nuts, bolts, and other parts to attach the two
- rustic stringed light bulbs that could be interconnected and wired to the system of electricity in the space where you plan on hanging the chandelier
First thing’s first: grab a large chunk of reclaimed wood, then cut and sand it to your liking for the chandelier. Stain if necessary.
Drill in your hanging fixtures, add your chains, and hang on the wall. Then, add your light bulbs and wrap them around. Now it’s time to wire.
If you plan on wiring this yourself, make sure you thoroughly educate yourself about wiring. If you decide to do this yourself, make sure ALL circuit breakers and electric sources are turned OFF.
In addition, you’ll want to make sure the black probe is placed into the black lead and the red probe into the white lead. The video below is accurate other than that.
Now that the basic wiring is done for one bulb of your chandelier, you’ll want to continue to do this for all of the bulbs. If it gets tricky, check out this forum for more answers.
Once you get the basic wiring of the chandelier done, you’ll obviously need to wire a light switch as well. Check out the video below to get that done.
Once it’s hung and wired, you’re all done. Easy, huh? Now whatever room you strung this up in is a whole lot prettier. However you decide to do yours, you’re guaranteed to love it.
Good luck and have fun building! Check out Kraftmade‘s video below and get started on your own!


