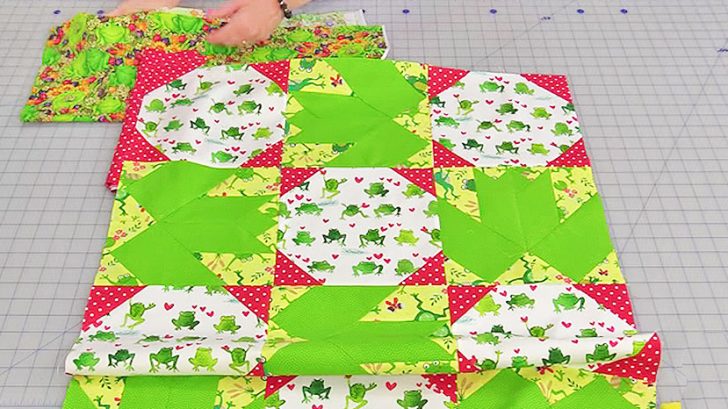
Are you a fan of frogs?
My grandmother loved frogs. She had statues, cups, clothes, stuffed animals… she even had a frog fountain. Though she passed away in 2004, I couldn’t help but be reminded of her when I saw this.
Laura Ann Coia with SewVeryEasy is back at it again with another tutorial, this time for a frog quilt. I decided to make it in my grandmother’s honor. Luckily for me, it wasn’t all that hard!
All you need besides your border(s), backing, and batting are:
6 snowball blocks made from:
- 9″ squares (6)
- 3″ squares (24)
6 frog blocks made from:
- This pattern. Click here to print it out for free!
- These will be 9″ squares as well, made of two fabrics.
To make the snowball blocks, sew on the 3″ squares on each corner.

Do this by drawing a diagonal line from corner to corner on the 3″ square, placing the fabrics right sides together, and sewing along that line. There should be a 1/4″ seam allowance.
Fold this over, press, and cut off the excess fabric underneath from the 9″ square. Repeat 6 times.

Then, you’ll get to work on your frog blocks. Follow the pattern provided above, but make sure to leave at least 1/4″ all the way around the fabric for a seam allowance.
You’ll put these frogs together by doing a technique called paper piecing.
Do you remember using a light box to trace things when you were younger? This is basically the same concept.

Laura explains how to use the pattern with paper piecing in more detail. The video below should help you get the perfect blocks.
Check out Laura’s video below and get working on your frog quilt. Mine turned out perfect. I think my grandmother would be proud!

