Headbands Galore

Summer is here. You know what that means: it’s time to get your hair out of your face. With all of the heat that summer brings, the last thing you need is sweaty hair in your face.
The solution to this? Headbands. You could buy a pack of them at the store, sure, but they’re usually really cheaply made, and you end up spending more replacing them over and over again.
Instead of going to the store and buying headbands over and over, why not make your own? You can make them look exactly how you want them to look, and even make them reversible!
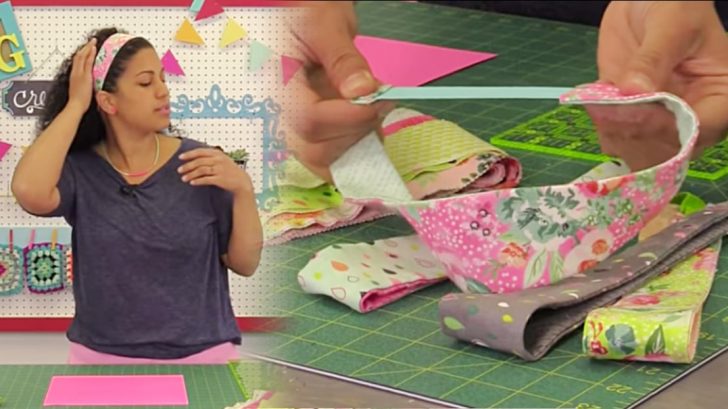
The Crafty Gemini is back again with another beautifully done video tutorial, this time, for these DIY reversible headbands. They get the hair out of your face and are so simple to make.
Since they’re reversible, you basically get 2 headbands in one. Make them from 2 of your favorite fabrics, and switch them around to whatever side fits your outfit for the day. Amazing, right?
I’m guessing by now you want to know how to make them, and I don’t blame you. Once you know how to make one, you’ll make at least 10. Let’s get started. Here’s what you’ll need:
- jelly roll fabrics (you can cut them to the size of jelly roll fabrics if you prefer)
- 5/8″ fold over elastics
- Shape-Flex 15″ x 2yd (or any comparable product)
- 6″x12″ quilting ruler
- 45mm rotary cutter
- cardstock
- pen
- safety pin
Now that you’ve got your supplies, you can begin building the headband. Crafty Gemini’s YouTube Channel Crafty Gemini Creates goes through the measurements and marks them on card stock.
Next, you’ll cut your elastic and use your card stock to create the headband pieces, as well as the Shape-Flex pieces. Follow the video to get into that a bit more.
Once you do all of your sewing, flipping right side out, and adding of elastics, you have a double-sided headband! Customize it however you’d like. The choice is yours!
Be sure to watch the video below for additional details, and have fun sewing!


