If you’re particularly proud of a quilt, maybe you want to find a way to sign your work and leave your mark. You can do this by making a from-scratch label!

To make a label for your quilt, you’ll first need a piece of fabric that you’d like to use for the label. Make sure you know how big your text is going to be and use a coordinating piece of fabric.
Use a piece of woven fusible interfacing to fuse on to the wrong side of the fabric. Make sure this is 1/2″ shorter than the width of the label fabric so you can curve the fabric.
If you haven’t used fusible interfacing before, make sure the shiny side is on the fabric before you use your iron, just so nothing gets stuck where it’s not supposed to be stuck.

Fold over the edges and iron that on to the other side of the fusible fabric just so it’s crisp. This probably won’t “stick” per se, but it will make the label much cleaner when you put it on the quilt.
Once that’s done, you’ll want to use a machine-washable quilting chalk or marker to mark where your text is going to go. Read your machine manual to make sure you know how to do the correct stitching.
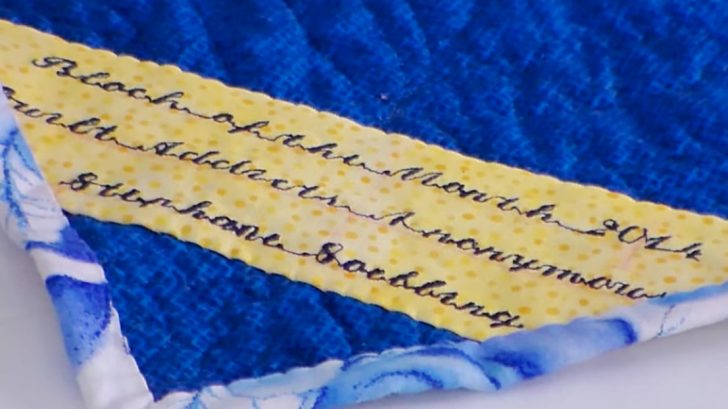
Stitch the text you’d like and continue to use a ruler and the marker/chalk to continue to do the next lines.
Then stitch it on your quilt like she shows in the video below, and you’re done!

What kind of label are you going to make?