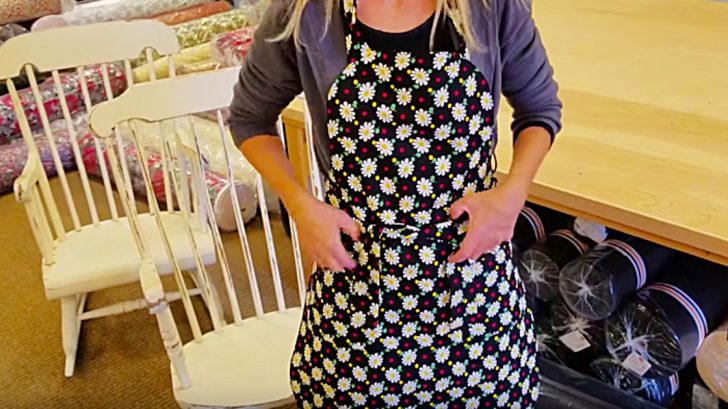
We all need new aprons every now and then and even if you don’t need one, you know someone who does and they always make great gifts. I have made many aprons but I hadn’t made one in a while so I was so excited to find this excellent DIY Apron Tutorial on Youtube and couldn’t wait to make one! I got started by assembling my materials: 1 yard of fabric (in one color), 1 yard of fabric (in a contrasting color), some contrasting scrap fabric, my trusty sewing scissors, and some thread.
Advertisement
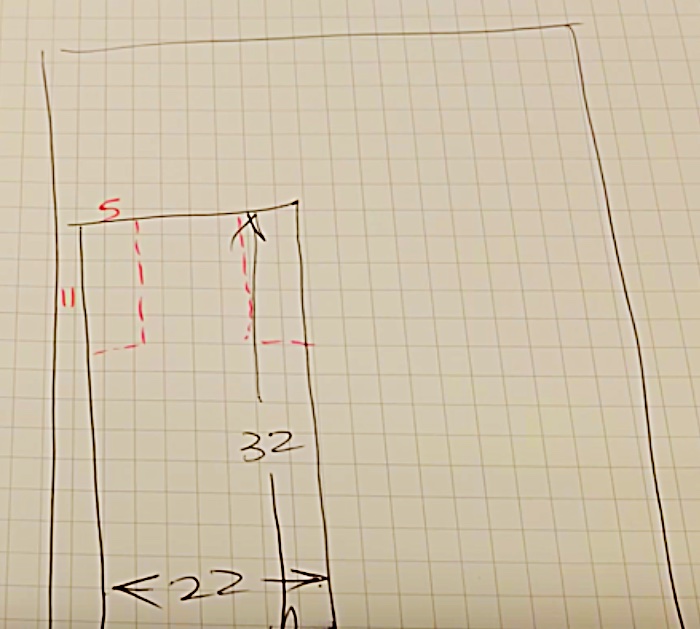
Lay your first yard of fabric on your cutting table and cut out a 32 x 22-inch rectangle and mark two smaller 11 x 5-inch rectangles on each side.
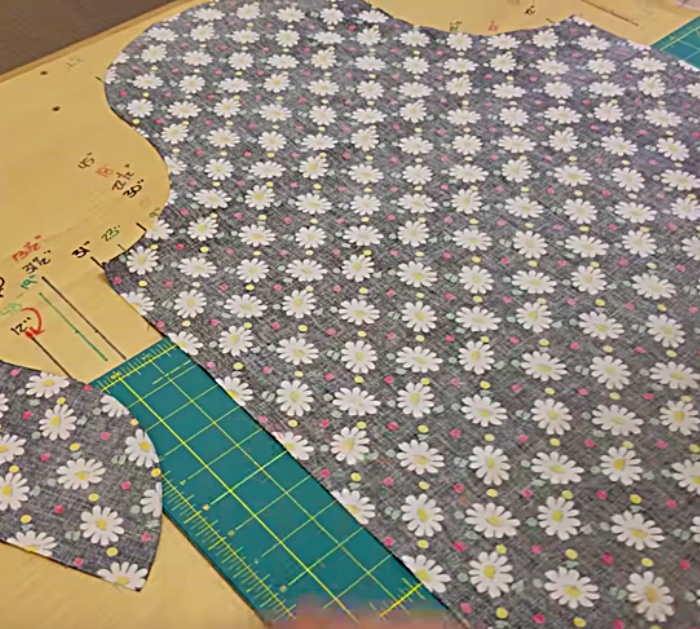
Then cut this out of your first yard, this is the outer portion of your apron. Cut an 11 x 5-inch rectangle out of each side and use a rounded edge to make them curve as shown.
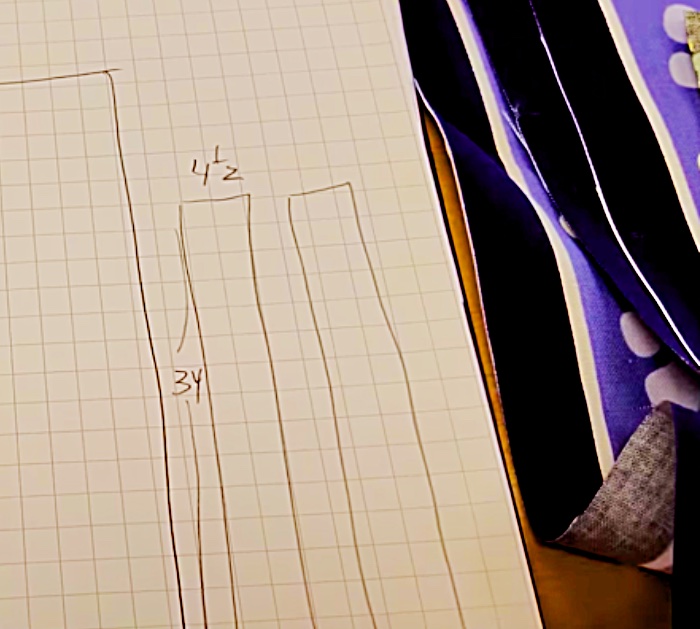
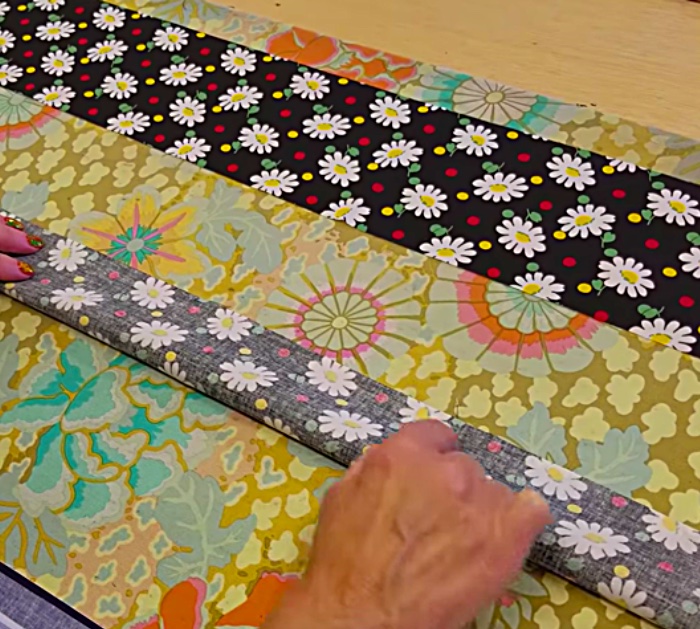
Then cut out your ties in 4 1/2 x 34-inch strips and a strip for your neckband 21 x 4 and cut 2 (7×7) pockets.
Then sew the ties and the neckband folded with right sides together, then turn right side out and press, then pin and sew to your apron.
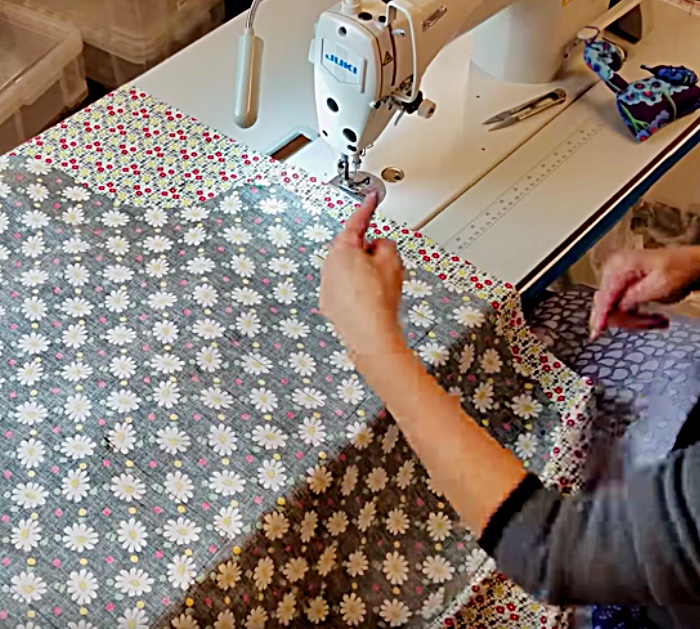
Then lay your contrasting fabric right side up and pin your apron front right side down and pin, then sew together leaving a 4-inch opening.
Then you just trim the edges and turn right side out and press then topstitch the entire circumference of the apron and you are done! I hope you enjoy this wonderful apron project as much as I did!
DIY Make Your Own Pattern Apron

