It’s time to decorate for fall. Whether you want a little something here and there or a massive explosion showing off the season, this DIY decor piece looks perfect.
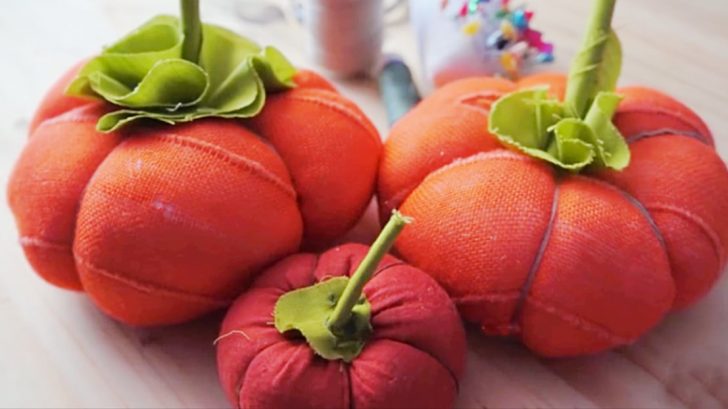
These little pumpkins are super simple to make and take next to no time at all. They’re great center pieces and even better sitting on your book shelves.
I loved making these and they were so easy to do. Want to know how?
What you’ll need is:
- Orange & green fabric (the larger the fabric, the larger the pumpkin. She used 20 cm x 20 cm squares for the orange and 15 cm x 10 cm for the green)
- Large & medium sized needles
- Matching all-purpose thread
- Thick tan or brown thread
- Pillow/toy stuffing

Draw a circle out of the orange fabric (she uses a plate to do this,) and cut. Thread the medium sized needle from your normal-sized thread.
Sew around the orange circle with a running stitch, then pull the two ends of the thread to create a pouch. Stuff the pouch with pillow stuffing, then pull the two ends to tighten it and sew it in place.
Thread the large needle with the thick thread. Insert the needle on one end of the pumpkin and pull it out of the top. Insert from the bottom and pull out of the top. Pull the thread to create an indentation.
Use the thick thread to create pumpkin wedges as shown in the video, and repeat about 6 times. Knot and tie the thread once you’re done.
Draw and cut 5 identical green circles. Sew one to the bottom of the pumpkin. Place two circles on top of one another, overlapping, then roll tightly. Sew to secure.
Sew this little stem to the top of the pumpkin. Fold the other circles in half and sew to the stem to create leaves. Knot and trim the end of the thread.
That’s it, you’re done!
Where are you going to put yours?