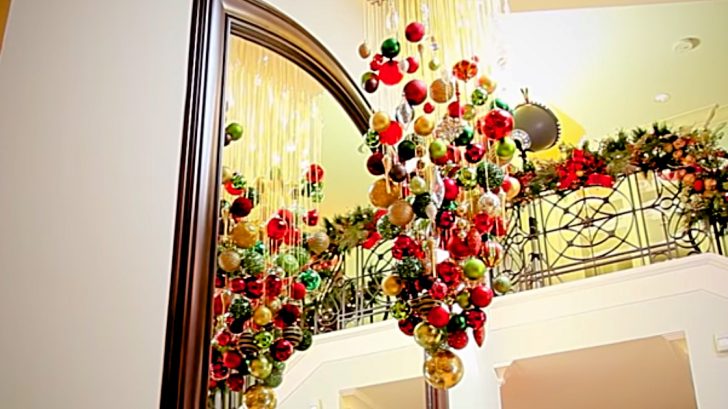
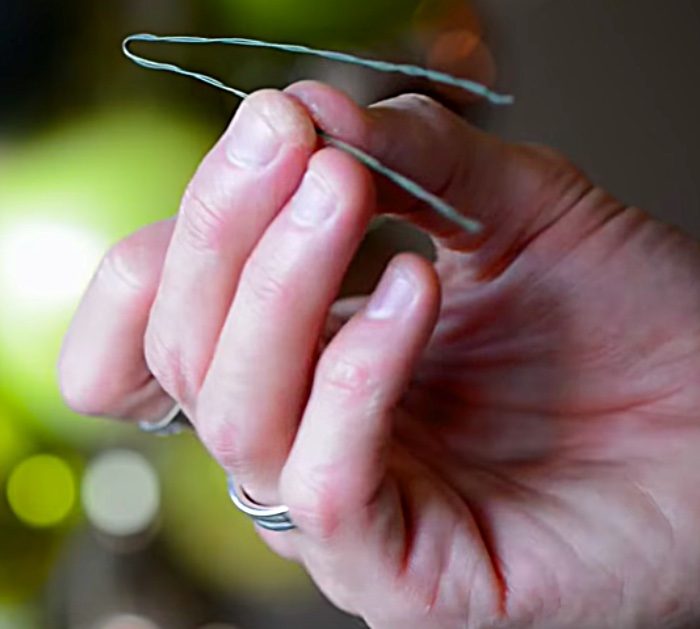
I love all ball-shaped Christmas Ornaments, they are my absolute favorite. Just the mere sight of one of those beautiful little Christmas spheres gets me totally in the holiday mood. So when I saw this DIY Christmas Ball Chandelier I fell in love. When they said it was going to be cheap and straightforward, boy did they mean it! Seriously, this is the kind of DIY project where you get a piece of wood and some twine and add whatever you have, bows, some glittery snowflakes, and Christmas balls, really whatever you fancy will work perfectly for this awesome DIY Christmas Ball Chandelier. You will need a pair of plyers and a hot glue gun, a piece of wood and some screws. I started this project by getting my 1 1/2′ x 1 1/2′ piece of plywood pre-cut at Lowes, then using a drill bit small enough to just get the twine through and drilled 100 to 200 holes. Now, this is super important, to get your twine through the holes you need to make this nifty little threader.
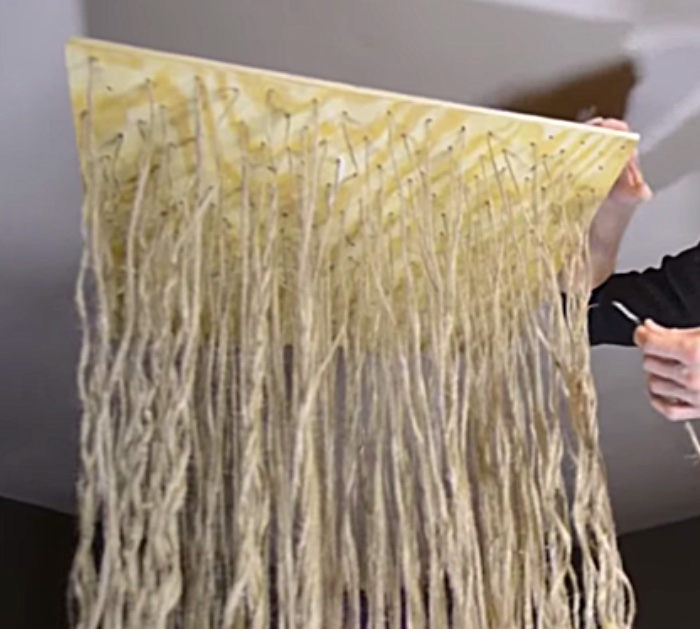
Then I just ran all my twine through using my nifty threader and left the strings dangling awaiting their ornament.
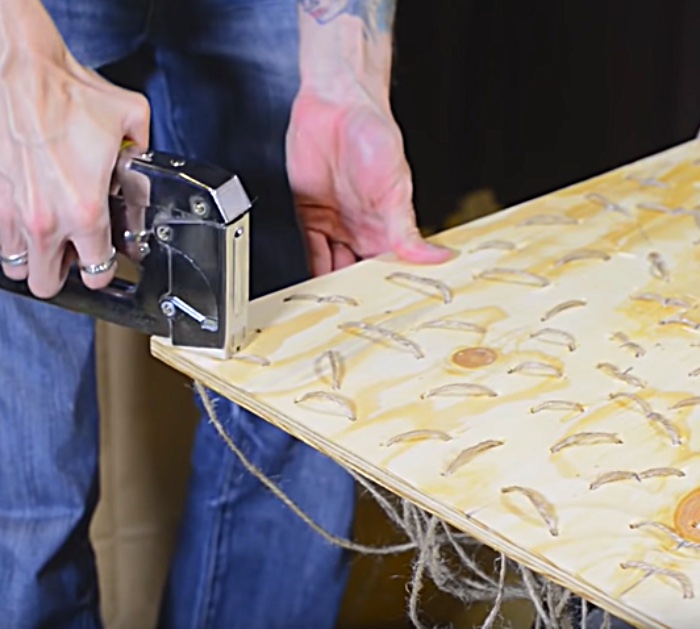
Note to do the initial twin threading we temporarily hung it then took it down again to staple all the twine at the top to reinforce it and keep the twine from shifting.
All we had to do was tie all our ornaments on, we used ball ornaments for the most part, but also snowflakes and glittery gems. There is no wrong way to do this project, just let your imagination run wild.


