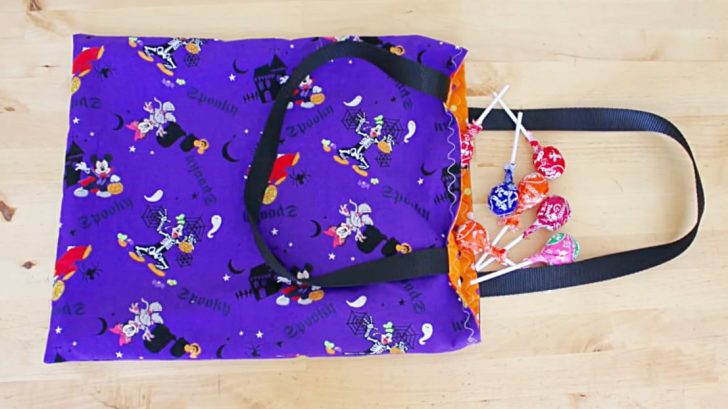
Trick-or-treating was my favorite part of Halloween as a kid. What’s better than a ton of free candy? With all of that free candy came needing a bag that would work well to hold all of it.
I’d usually use a pillow case, but then came the problem of having no handles. How was I supposed to carry it all home when it was so heavy and I had nothing to support it?
For my kids and grandkids, I’ve always made them trick-or-treat bags so it made it easier on them. I found one online that’s done in 30 minutes, and lately that’s been my go-to.
Here’s how to make it.
Besides your sewing machine, you’ll need:
- 1/2 yard main fabric
- 1/2 yard lining fabric
- 1 1/3 yard of 1″ webbing
- Coordinating thread
- Rotary cutter
- Scissors
- Pins
- Cutting Mat
- Acrylic Ruler
First, cut 2 pieces of both your main fabric and your lining fabric at 17.5″ x 14.5″. Lay your main pieces of fabric right sides together and pin around the edges right sides together. Repeat with lining fabric.
Using a 1/2″ seam allowance, sew around the sides and the bottom for both the lining and the main fabric. Clip your corners.
Cut 2 pieces of webbing, both 24″ long. Turn the lining fabric right side out and stuff it inside the main fabric so the right sides are together. Pin the fabrics together at the side seams.
Measure 3″ from the side seams and pin your strap in between both fabrics. Be careful not to twist the straps. Add the second strip the same way on the other side.
Finish pinning the top of the bag and sew all the way around using a 1/2″ seam allowance. Leave a 2″-3″ gap to turn the bag right side out when you’re done.
Once you turn it right side out, pin all the way around in order to top stitch the bag. If you used cotton webbing, you can also iron the fabric. Do your top stitch no more than 1/2″ from the top of the bag.
That’s it, you’re done!
Check out DIY with Ashley‘s video below and give this a try yourself!


