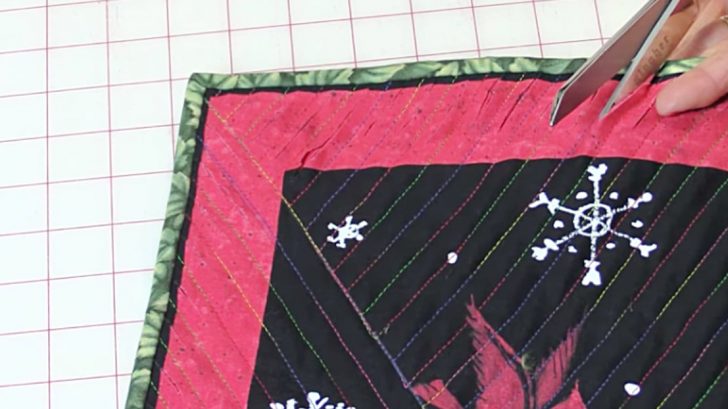
Chenille is beautiful, especially during the colder months. It just reminds you of everything warm and cozy in the best possible way.
Laura Anna Coia from SewVeryEasy is at it again with this tutorial on how to turn fabric panels into a chenille quilt. I just love how hers turned out and I couldn’t wait to make my own!
Want to learn how to do it? Here’s how.
All the fabric you’ll need to make this is:
- 4 identical panels of fabric
- Batting (fusible batting if you want to save time)
- Backing fabric
First, makes sure all of your panels are cut to the same size. Make a quilt sandwich like you would with any other quilt. Then comes deciding how to chenille your fabric.
You’ll need to run stitching lines to create what Laura calls “channels.” You must do this at an angle, because you don’t want to go with the grain of the fabric.
As for what angle you choose, that’s 100% up to you. There are no rules! Laura opted to create an “X” in the middle, followed by angled stitches coming from every corner.
The channels are really just rows of stitching that you need to keep identical widths apart. This should be from 1/4″ to 1/2″ apart per row.
Before you start stitching, you’ll want both your batting and your backing 2-3″ away from the edge, and you’ll also want to pin between the layers in areas where you can.
To learn more about how to stitch this together and truly transform it, check out Laura’s video below, then give it a shot yourself!


