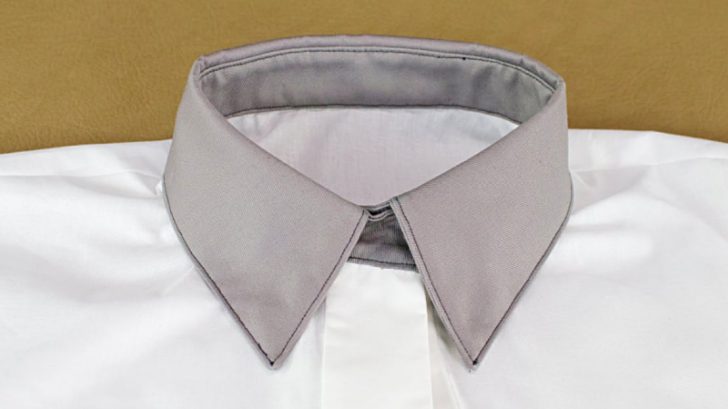
There’s nothing that puts together a shirt or jacket more than the perfect collar, but sewing them can be pretty hard.

In the video below, YouTuber Professor Pincushion uses two patterns: to use the Vogue pattern, click here. The other pattern, McCall, is no longer available, but you can easily make one pretty similar.
To make the collar more stiff, you’ll want to iron on some fusible interfacing to your fabric. For every two pieces of fabric, you’ll only need one piece of interfacing.
Cut out two pieces of fabric and one piece of interfacing, ironing on the interfacing to the wrong side of one piece of fabric.
Place your two pieces of fabric rights sides together, making sure the fused-on interfacing is not on the right side of the fabric.

You’ll stitch it together on three sides (or all sides without notches,) and use Professor Pincushion’s technique for sewing corners, shown in the video below, for a sharper collar.
Trim your seam allowance. Flip it right side out, then do a basting stitch and an edge stitch to hold the whole thing together. The edge stitch should be about 1/8″ from the edge.
You also are going to have two collar bands with fusible interfacing, which she shows in her video. The trick is to take both pieces and force the shape to match each other along the notches.
You’ll sew all of this along one end (the notched end), and then flip it right side out. Then you’ll attach it!
To see how to do this, watch the video below, and good luck!