If there’s a basic skill that every quilter should learn before embarking on a project, it’s the quilter’s knot.
The quilter’s knot is a necessity for hand quilting. It’s pretty simple to do, but there’s a technique to it. If you don’t know this technique already, here’s how to do it.
__________________________________________________
Step 1
Cut a length of thread about the length of your arm (from shoulder to wrist, about 24 inches). Thread it in the eye of your needle with one short tail and one long tail.
The long tail will be your working thread.

Step 2
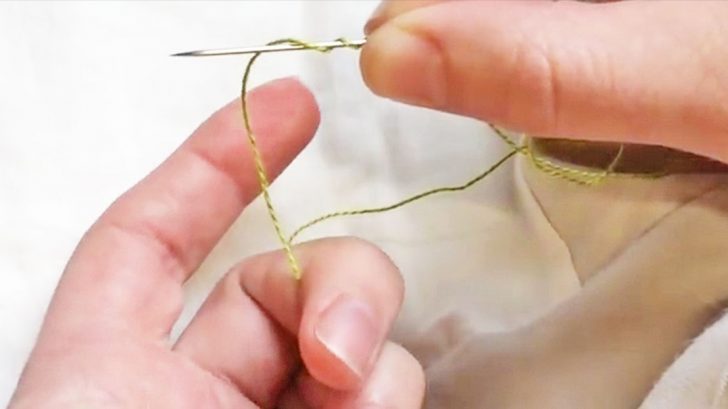
Take the needle in your right hand between your thumb and middle finger, holding it in place with the tip of the needle pointing left.
Then take the cut end of the thread and place it on top of the needle. Pinch the working thread (cut end) and the needle between that thumb and the middle finger.

Step 3
Wrap away the thread twice on the needle. With your left hand, ensure that the wrap is tight by holding the thread with your bottom 3 left fingers.
With your thumb and point finger, grab the needle and the loops created earlier and switch everything onto your left hand.

Step 4
Hold everything firmly making sure the needle and the wraps will not slide or become undone but don’t wrap it so tightly that you can’t pull the needle up and down.

Step 5
Pull the tip of the needle away through the loops pulling the thread through the center of the wraps you created until you feel a small knot form in your thread under your fingers.
Now you have a small knot in your thread and you should be left with a tail quarter of an inch below the knot.

And there’s your Quilters knot!

_________________________________________________________
For an in-depth video tutorial on the how to do this knot, watch below!
Happy quilting!