Hand Sewing Buttons: A Skill Everyone Should Know

Sewing a button: something so simple in sewing, yet something that is often overlooked. In fact, a ton of my friends sew, but quite a few of them have never sewed a button!
I was looking to change that. Even people who only sew quilts should know how to sew a button properly. So, I looked up a tutorial and decided to lay it out for you guys.
How It’s Done

First, you’ll want to decide exactly where you want. It seems self explanatory, but placement is everything when it comes to hand sewing these on.
If you’re sewing on more than one button, take the time to lay it out and measure where everything is going to go, marking where the center of the button is going to end up.
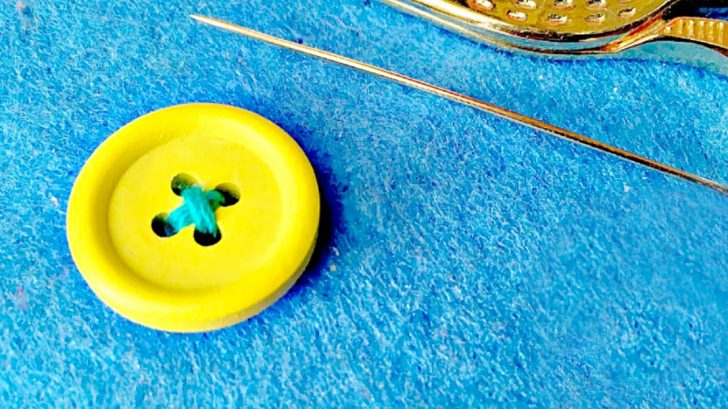
Now, you’re going to thread your needle as you normally would. If you’d like your stitching to stand out, pick a colorful thread that contrasts with your button.
If not, pick a thread that matches your button.

Now comes the actual sewing. Depending on how you want the stitch to look, you can sew in any direction you see fit, but a little “x” pattern between 4 holes is common.
Start on one side of the button, pushing the needle up through the bottom and into the hole. Then, cross over to the opposite hole and poke down. Choose a third hole and repeat the first two steps.
Once you cross under in your final stitch, you can tie it off on the bottom, and you’re done!
For more tips and tricks, watch the video down below, then you can get stitching yourself!