Have you ever used a French seam before? If not, I highly suggest you give it a try. It gives whatever garment you’re sewing a clean and fresh look, and it’s beyond easy to do.
I found a video tutorial by Howcast on how to get it done, so let’s get started so you can know how to do it, too!

Here’s how.
Identify your wrong sides of the fabric. You can do this with fabric chalk if necessary. Match the wrong sides together, then sew a narrow seam allowance (1/4″) with a straight stitch.
After you sew, press the seam flat, opening it up a little bit. You can do this with your fingers and don’t need your iron for this.

Using scissors, cut away your excess fabric, about 1/8″, to cut the seam allowance in half. Now, lay the right sides together, and try to push out the seam so it’s nice and flat. Pin in place.
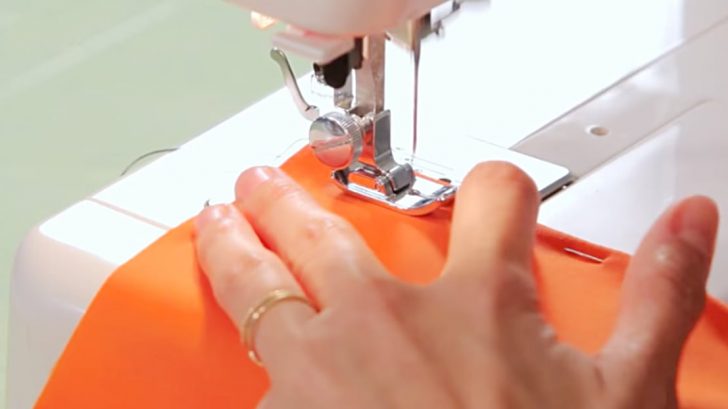
Take it back to the sewing machine and sew a 3/8″ seam allowance, making the total seam allowance 5/8″ (1/4″ = 2/8″, 2/8″=3/8″ = 5/8″).
Then press your seam to one side, and you’re done!
Check out Howcast‘s video below for a visual tutorial on how to get this done. It’s a lot easier than it “seams”, I promise.

Good luck!