An Easy & Adorable Easter Project

Easter is coming soon. I don’t have time to stitch a full Easter quilt, but I do want to sew an Easter project, so I decided to sew up some pillows for my couch.
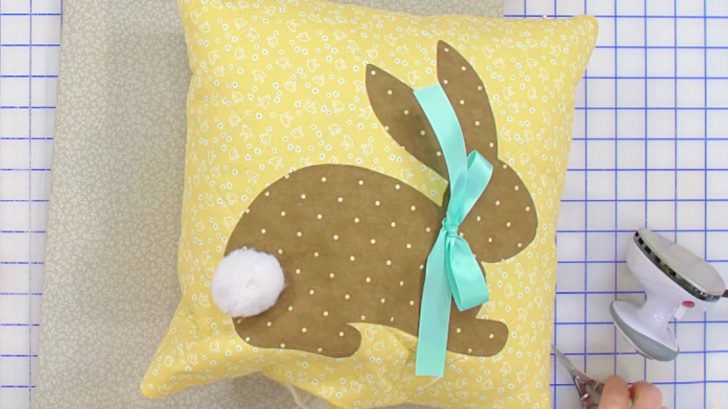
Shabby Fabrics has a video tutorial for making this super cute bunny pillow. It’s so easy to make, too, so I replaced all of my couch pillows with these!
To make this adorably festive pillow, you’ll need a bunny template. Luckily, Shabby Fabrics included a free template for the perfect bunny. You can get that by clicking here!
Along with the bunny template, you’ll need some other supplies as well. Here’s what you’ll need:
- two 15″ x 15″ pieces of fabric for the pillow
- two 15″ x 15″ pieces of fusible batting/fleece
Stitch The Pillow
First, begin by fusing the fusible batting/fleece to the wrong side of both pieces of the fabric. From here, you can quilt the fabric if you’d like, but it isn’t necessary.
Take your template and line up the two pages to make the full bunny. Bring out a piece of fusible webbing to use with this template.
If you want to stitch around the edge like Jen does, you can use a lighter hold fusible webbing. If you don’t want to stitch the edge, you can use a stronger hold product.
Trace the shape of the bunny and cut outside the lines like Jen does. Using medium heat, iron this bunny down on the wrong side of the fabric you’re using for the bunny.
Using a sharp pair of scissors, cut around the line so you get the fabric bunny. Peel off the paper from the webbing. Position the bunny on to the quilted fabric, and iron it on with medium heat.
If you’d like to sew it down, you can do that with a coordinating thread or one that will match your background. Now for the ribbon necktie.
Grab a piece of ribbon as long or as short as you’d like. Find the center and press it down horizontally. Pin the ribbon where you want it on the pillow, then sew the center on to the pillow.
Tie the ribbon in a bow, then trim if you deem that necessary. Place the back of the pillow to the front, right sides together, pinning and sewing all the way around, but leaving a space for stuffing.
Stuff the pillow, then do a top stitch to seal the opening. Finally, sew on your poof tail by hand, and with that, you’re done with your pillow!
For a visual for all of this, watch the Shabby Fabrics video below. It’s so informative, and you’ll love how your project turns out!